
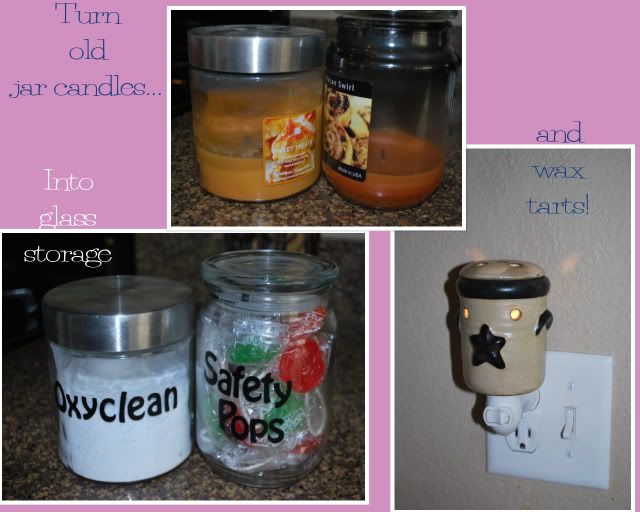
Today I cleaned out and reorganized 4 cabinets in my kitchen and 2 cabinets in my laundry room. I'll have before & after pics up soon! However, in my cabinet purge, I came across a bunch of jar candles that I haven't burned in months. 2 of them didn't have much wax left and rather than throw them away I thought that maybe I could re-purpose the jars. First I had to get that wax out!
I read that there were two methods. One was to put the jar inside a pot of boiling water until the wax melts. However...then what? It's not like I can pour it down the drain. Method 2 seemed better. Method two is to pour boiling water into the jar, letting all the wax melt and float to the top, and then removing it once it hardens.
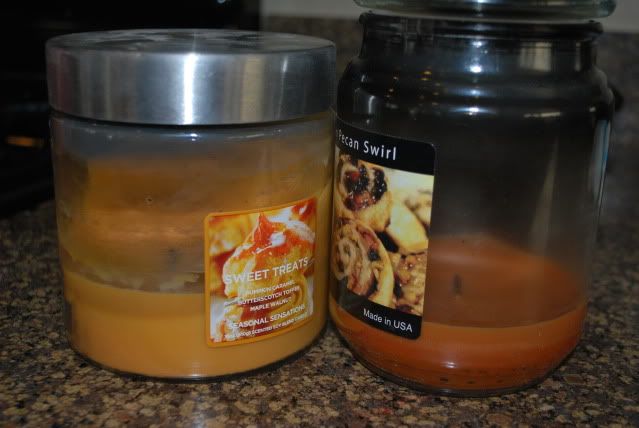
Ok, so here's what I started with.
I boiled water...
 |
| Yeah, you probably didn't need a visual, right? |
I placed the candles into brownie pans because I was afraid of hot water = broken glass. No worries though, it didn't happen!
Pour the water into the jars once it's boiling.
After a minute or two you can already see melted wax float to the top!
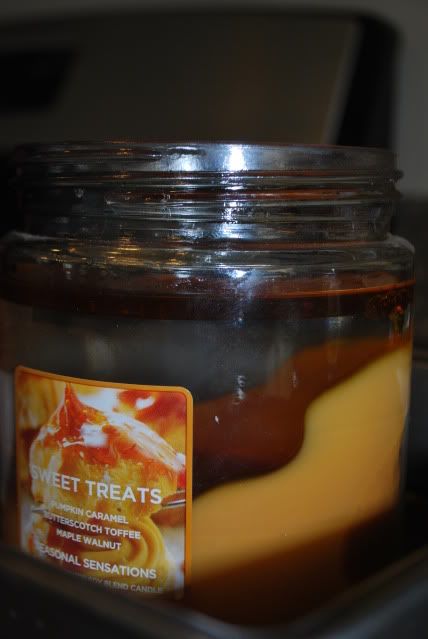
In my experience it took about 90 minutes to cool and the wax was solid, but somewhat soft. That was perfect.
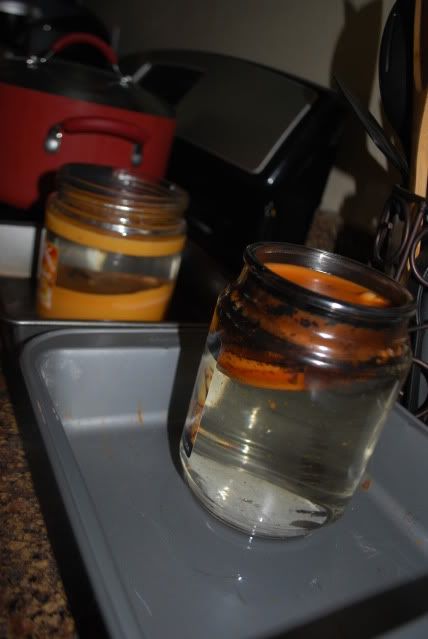
Here you can see one jar has all the wax at the top- the other one, not so much.
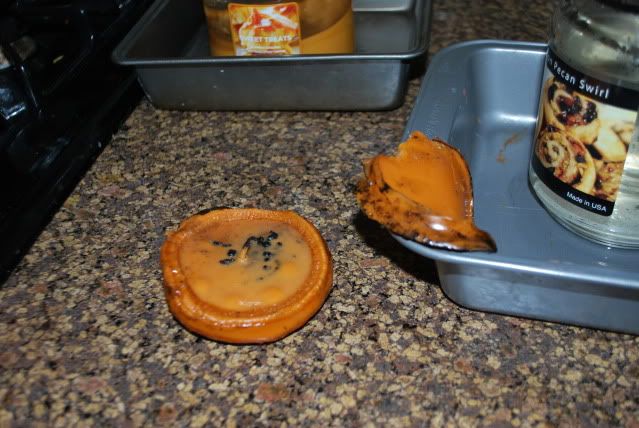
For the jar that worked 100%, I just took a butter knife and ran it along the edges, and then as it flipped sideways I just bent it and pulled it all out.
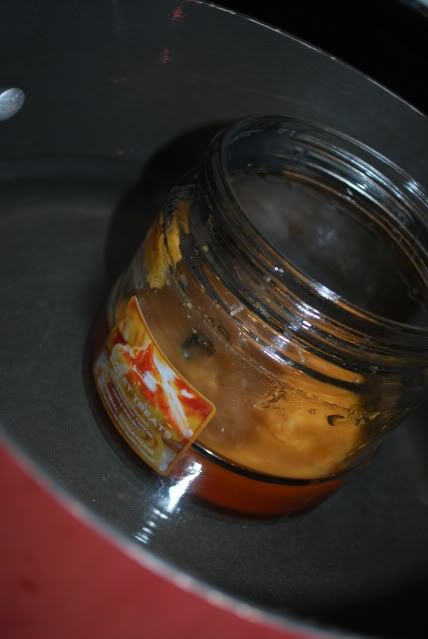
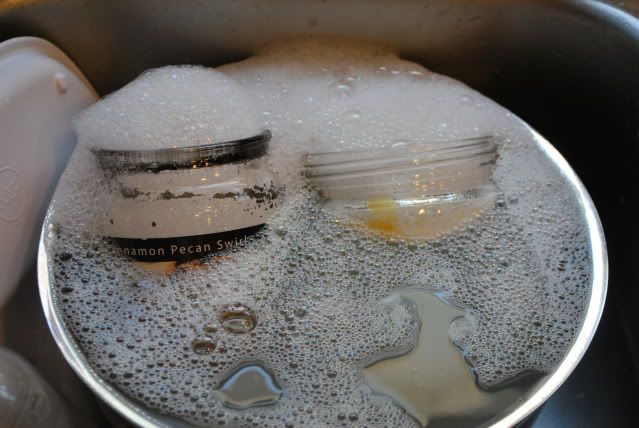
For the second jar, I pulled out what had floated to the top, and then resigned myself to having to boil the rest of the wax. I set up a pot of boiling water and placed this jar in the middle.
Since there'd be no water to pour out, I decided the best thing to do was pour the wax into something that could be thrown away.
A small cup lined with tinfoil was perfect. Once all the wax inside that jar was liquid, I carefully poured it into my makeshift disposable container.
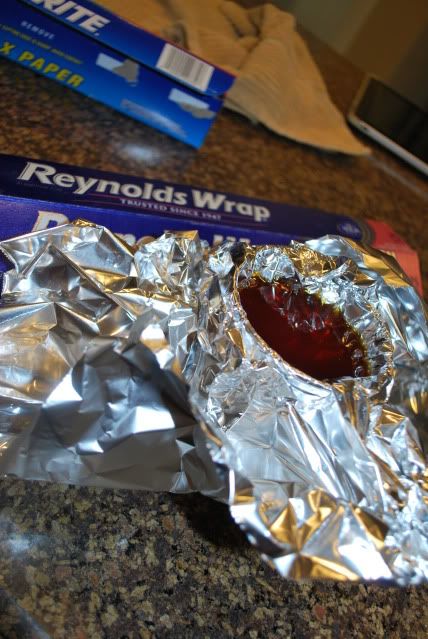
Once the wax hardened I just balled it up and threw it away!
Next, the jars got a bath to remove soot & soak off labels.
While that was soaking, I attempted to shape the wax I removed into something that could be used in a tart warmer.
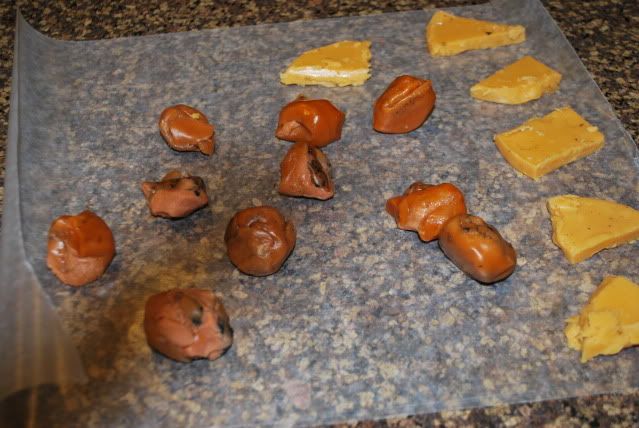
 |
| Perfect size! |
The jars then got a good scrub to clean them nicely and remove labels.
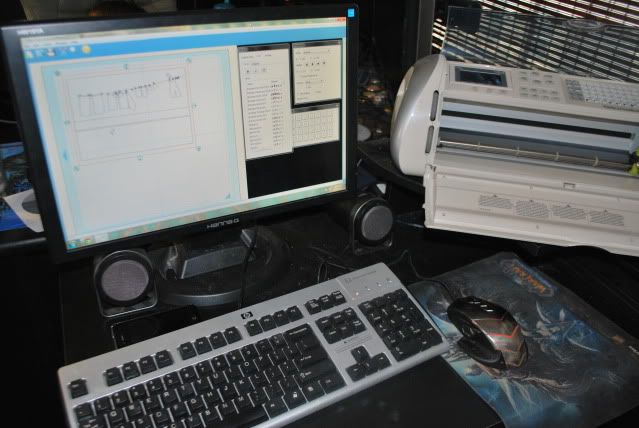
I turned on my trusty Cricut.
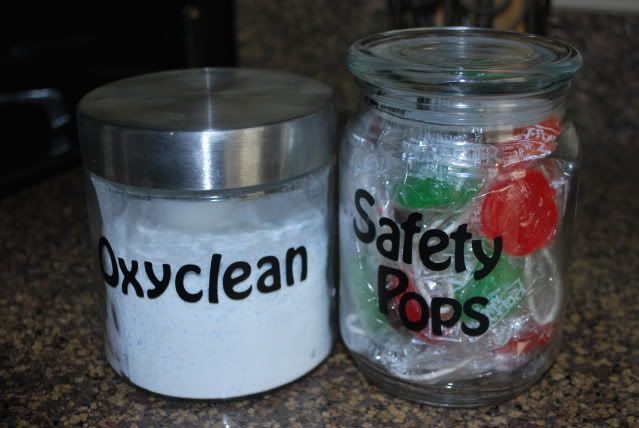
And voila! One went into my newly purged and reorganized laundry cabinet. The other went into my newly purged and reorganized junk cabinet (which is no longer junky!)
No comments:
Post a Comment