I'm doing so well on Christmas gifts that I'm getting a head start on the hand made gifts. One of those is vanilla extract. I know, it's all over Pinterest, and EVERYONE is probably going to be doing it for gifts, right? Well, can you really ever have too much? Since a lot of my gifts are baking accessories (Pampered Chef stoneware is the best!) I think a little bottle of home made vanilla extract will make a great accent gift.
What you need:
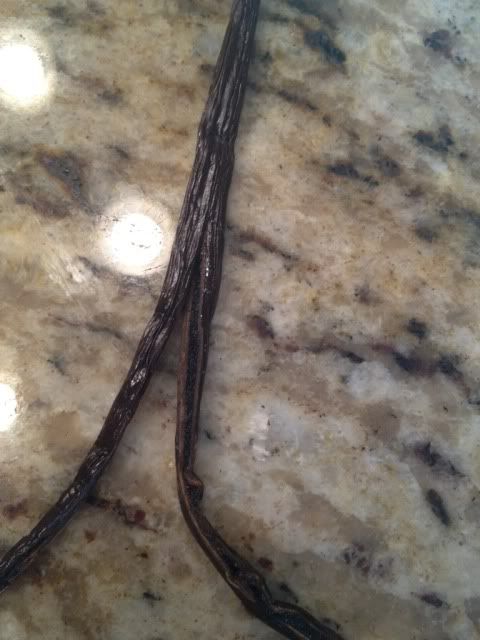
Vanilla Beans- I found this at two different grocery stores...but not Walmart. They are with spices. I paid $11/2-pack and got 2 packs.
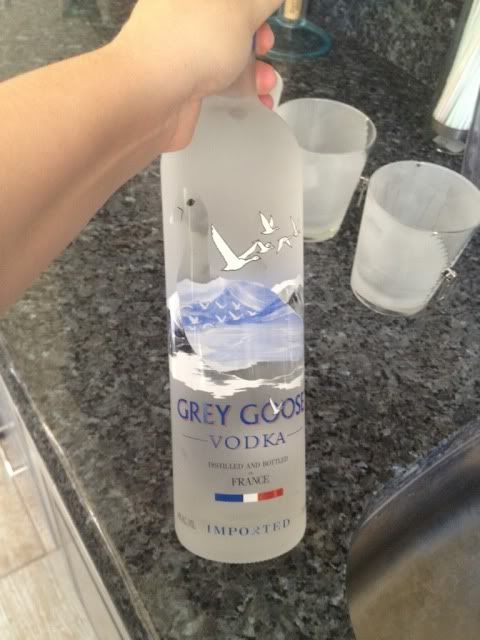
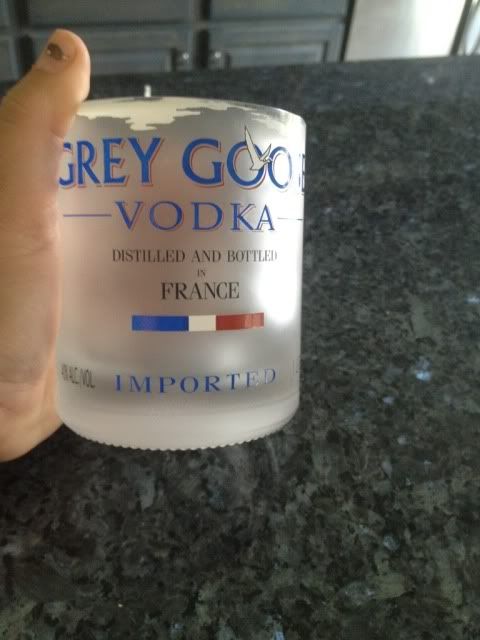
Vodka- Seriously, if you're going to do this, do it right. Use a nice vodka. I used Grey Goose.
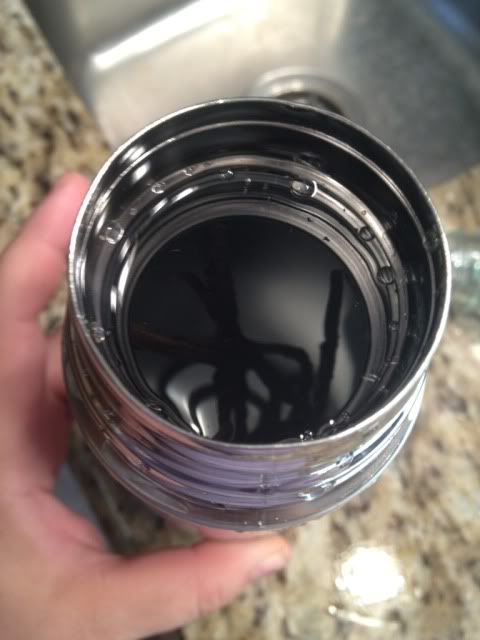
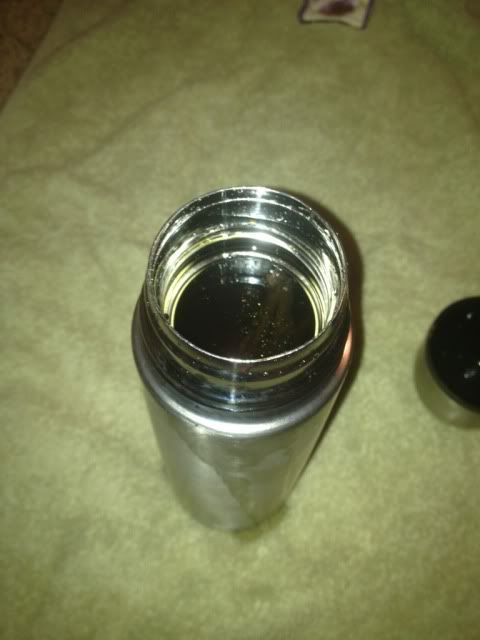
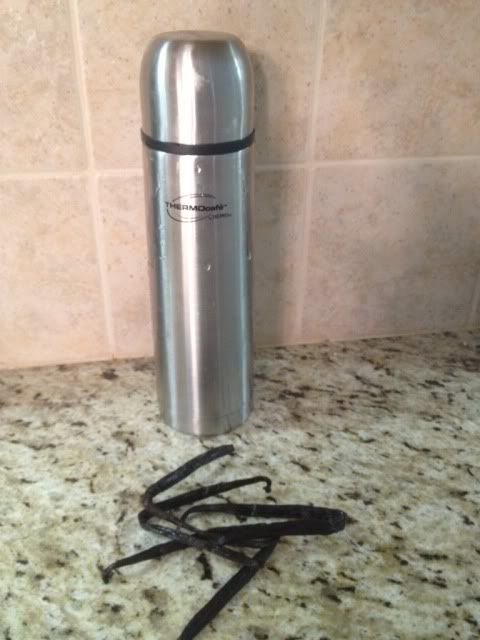
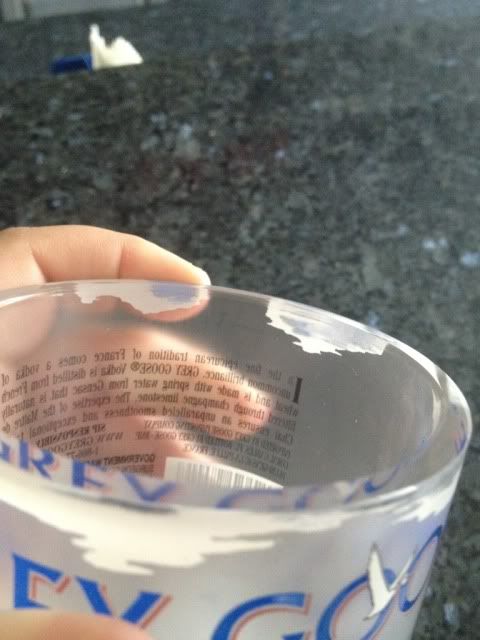
A container for now- preferably light proof, so I used a stainless steel thermos.
Containers for later- you don't need these ASAP. You also still want these to be somewhat light proof; either brown, green, etc.
Here's some glass brown ones for 75 cents each.
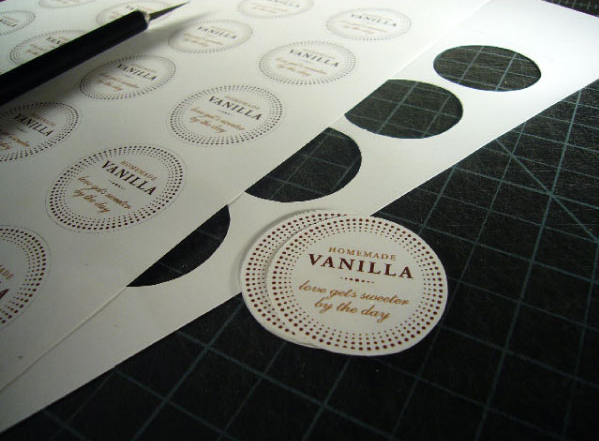
Labels for your gifting containers- again, you don't need those right away, but you can get some label paper and find ideas like
this one,
this one, or even with vinyl like
this. I haven't made mine yet- future post! :)
What you need to do:
First, decide how much you want to make. I wanted to make 2 cups. The industry standard for vanilla extract is .8 beans/cup. I decided to go with 2 beans per cup after doing a lot of research. So I gathered up my vodka and poured two cups into the thermos.
2 cups + 2 beans/cup = 4 beans.
You need to slice each bean lengthwise to expose the seeds. If you're like me...you took some time here to stop and smell the vanilla. Drooooooool.
Stick the beans in your container, seal, and shake a bit. Leave it in a dark place (I guess if you used a thermos like me that isn't 100% necessary, but I stuck it in my closet anyway) and wait at least 3 months before straining & decanting into separate bottles for gifts. Shake it up once a week or so in the meantime.
I'll be updating the blog over the next few months as the mixture, well, mixes, and as I get bottles ordered & labels made.


