Last time I posted I was so excited to receive a few early birthday gifts and one was the Silhouette Rhinestone Kit!
In addition I got a bunch of extra rhinestones and I was really excited to try this one out.
When it comes to crafting I always say that I suffer from craft over confidence. I just never, ever think that I can't do something and I rarely will abandon a project, even if I have to tweak or otherwise change it...or even if it ends up looking wonky when it's finished.
How does that relate to the rhinestone kit? This kit- heck, the ability to make templates in general- is such a great idea that is an utter pain in the butt when executed.
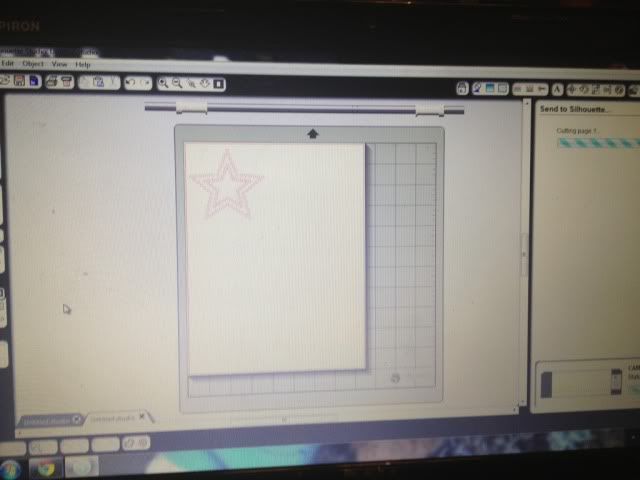
Starts off easy- the kit comes with a bunch of free templates and each template has 3 sizes. All my rhinestones were 10ss which is the smallest size. For obvious hole-size reasons you can't resize the templates.
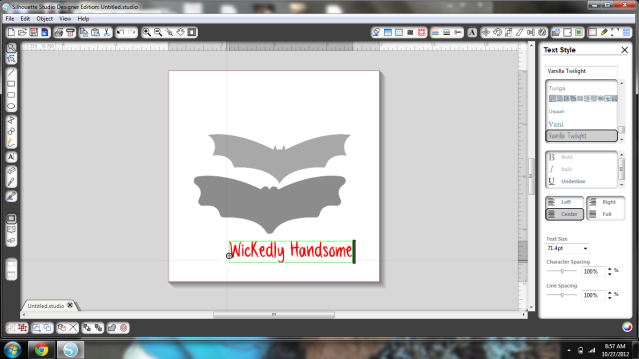
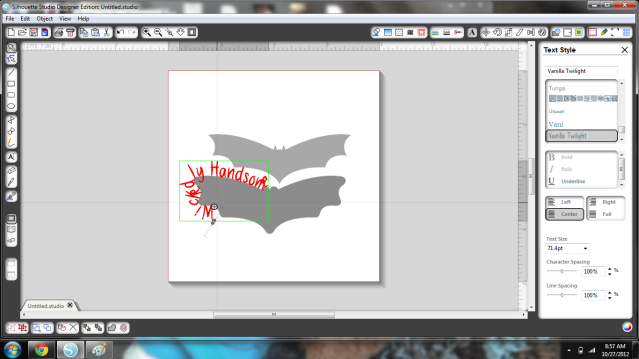
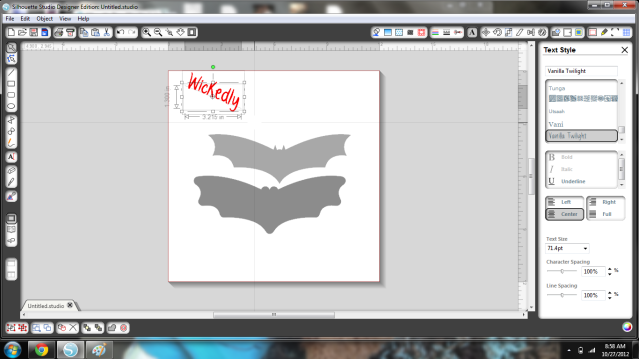
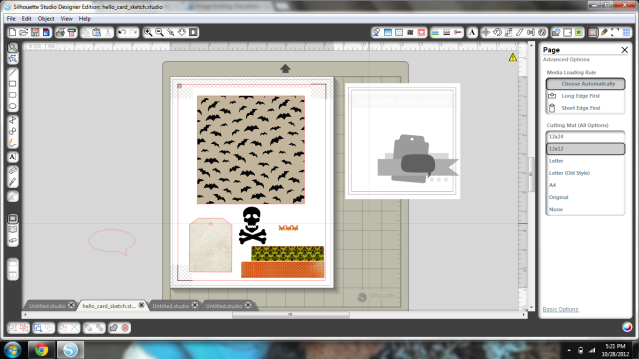
So, I picked this cute star, deleted the two bigger sizes, and positioned it.
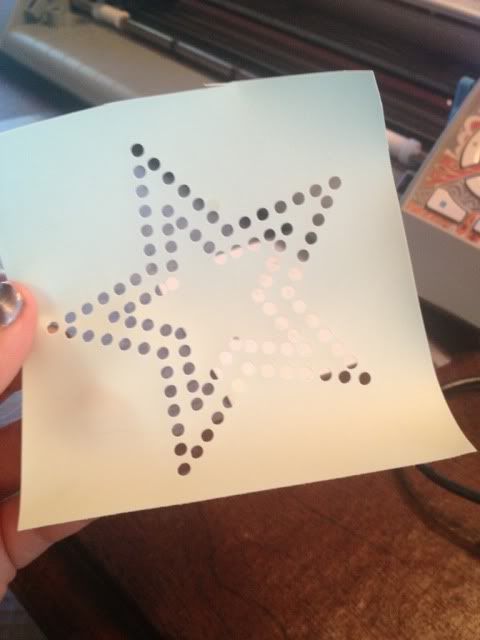
It cuts the small holes, and not that nicely unfortunately. I followed the Silhouette settings exactly- chose the correct paper option, blade set as indicated- and it cut completely through the template and the backing, yet some of the circles in the top layer weren't cleanly cut. Don't ask me how- I mean, the bottom layer was cut clean through!- but I had to spend a few minutes poking the holes out of the top layer.
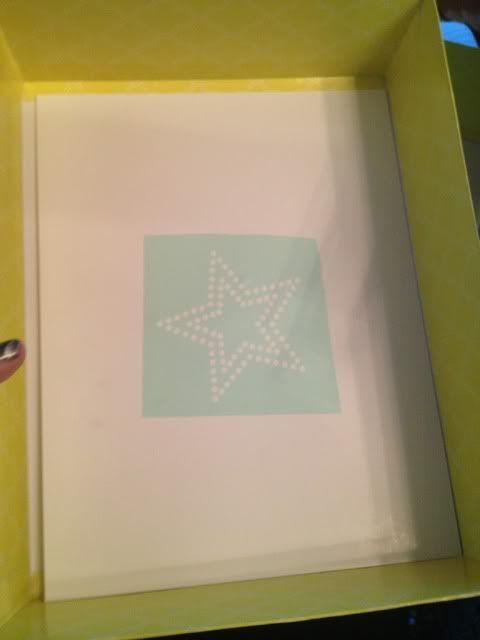
Place a rhinestone board into a box (for rhinestone corralling), peel off the template that was just cut, and stick it on the board.
Now for the real pain.
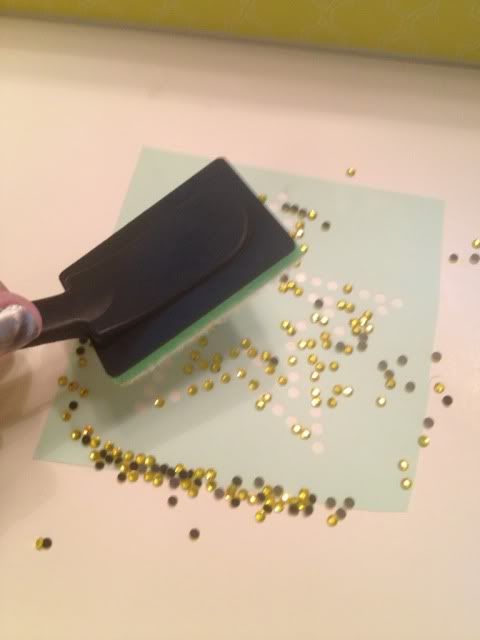
The directions say to pour some rhinestones over it and brush with the included rhinestone brush to get them in the holes.
Ok, here's the thing. Most designs are not just one color, even for rhinestones. In fact this was a patriotic colored design in the Silhouette store, with the inner and outer stars being different colors. How does that happen with a brush? It doesn't.
You have to slowly, painfully, mind-numbingly use tweezers with a teeeeeeny bit of glue on the end (and the hook tool, to push them off), remove all of the ones in the spot you DIDN'T want that color, put them all into place, and then fill in the other color one by one since you can't brush or it'll mess it up.
Silhouette says that with the brush, "most" of the rhinestones should be in place and they sell a pick up tool for the ones that aren't, which is cheap and I'll probably buy it, but I'll be hunting to see if Silhouette addressed the multi color issue.
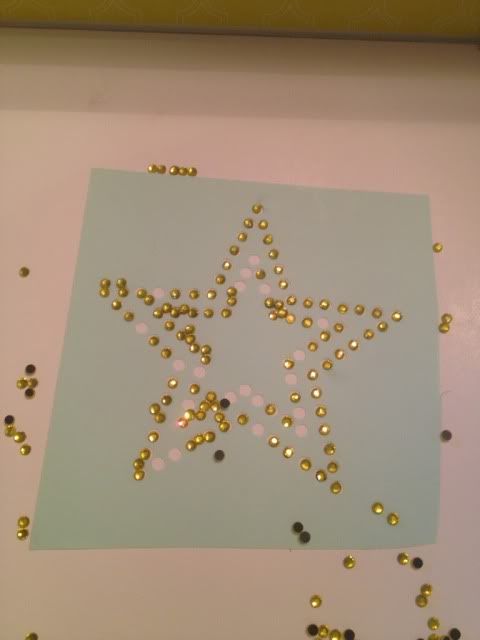
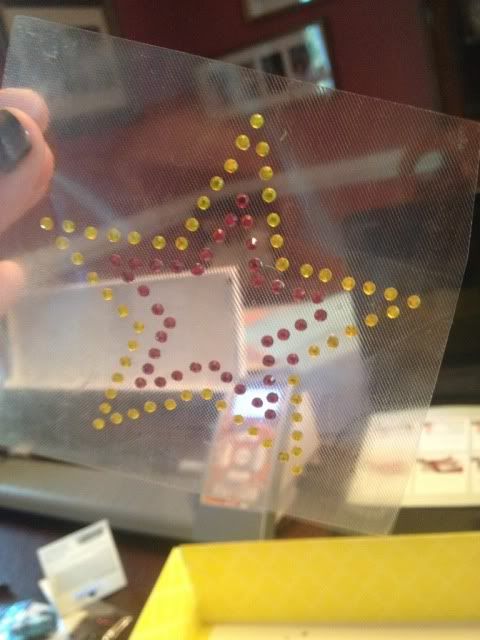
For the sake of argument here's how many were in place after the brushing. Except, the inner star isn't going to be gold.
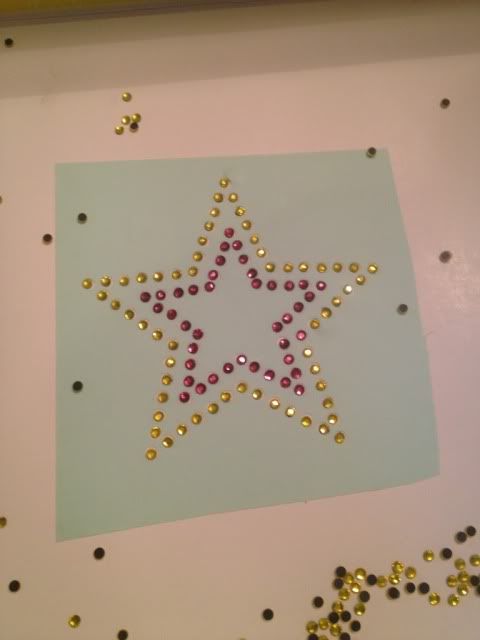
One by one, I removed the strays, finished off the outer star, and then (slowly) filled in the inner star.
About 25 minutes went by while I put the rhinestones in the correct places. No kidding.
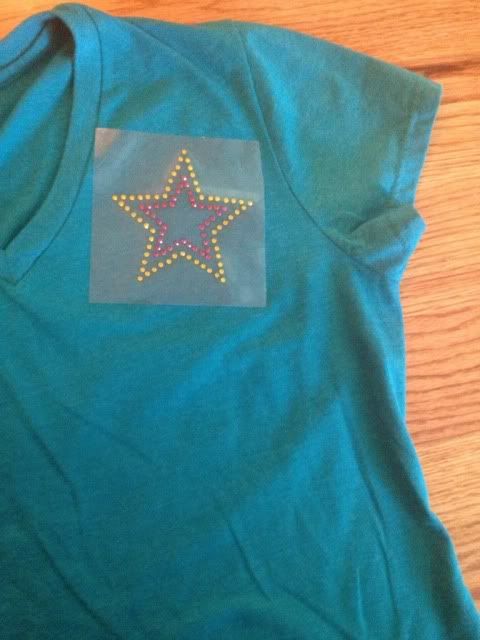
Now that they are (finally!) in place, stick some transfer tape over...
The directions don't mention to rub this several times but I really think it's a necessity. The rhinestones did not just "stick" upon contact with this tape.
Once I used the tweezers AGAIN to fix the holes- and the one pink where a gold should have been- I placed it on the shirt where I wanted it and pressed all over.
The directions say to place a drop cloth over the top, iron on the wool setting for 45-60 seconds, turn the shirt inside out, and repeat.
I did.
Rhinestones still peeled off with the transfer tape.
I stuck it back down and tried again.
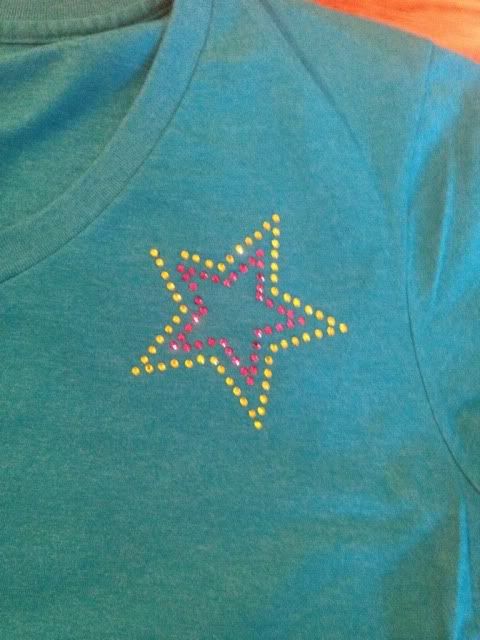
Only two missing this time, score!
I got some fabric glue and tweezered the last two into place using it.
It's cute, but I'm pretty much terrified to wear or wash it. The only thing that has me NOT cursing and having a strong drink is the hope that somehow this technique improves with practice.