I love to bake chocolate chip cookies but I am really bad about eating a handful of chocolate chips here and there and then having none to bake with, so I decided to make sugar cookies today.
I can't rave enough about my large stoneware pan from Pampered Chef. I want to throw all my metal pans away and buy more of these. Nothing ever sticks, it cleans easily, and bakes perfectly!
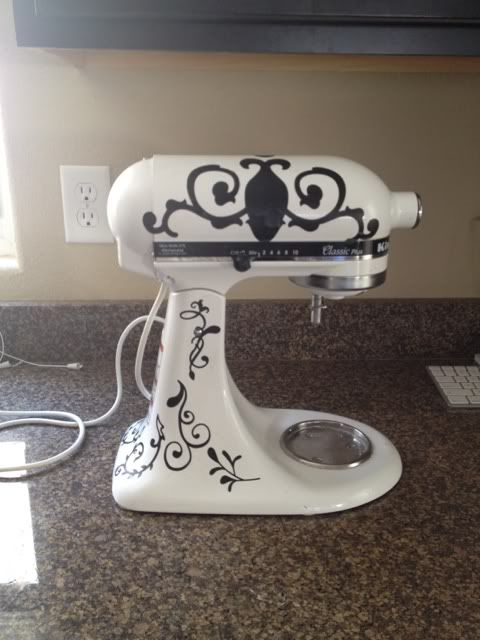
I also have mad love for my Kitchenaid mixer which recently got a makeover (see post from yesterday morning).
Anyway, the cookies!
You need:
An oven pre-headed to 350
A pan- I prefer the PC Stoneware pan obviously, but you can use whatever pan prepared however you have
to to make it non stick
- 2/3 cup shortening
- 2/3 cup butter
- 1 1/2 cups white sugar
- 2 eggs
- 2 teaspoons vanilla extract
- 3 1/2 cups all-purpose flour
- 2 teaspoons baking powder
- 1 teaspoon salt
- More sugar- see instructions
Blend the shortening, butter, and sugar until it's creamy and fluffy. Add eggs and vanilla and beat. Add the rest of the ingredients and beat again.
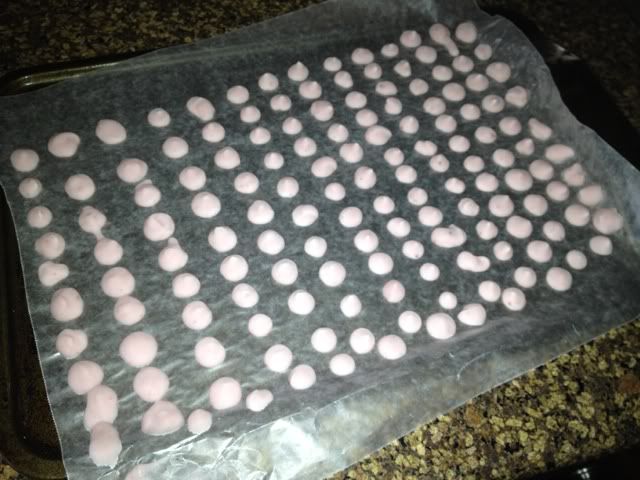
Now you can do one of three things. Roll the dough into balls, place on tray, and bake. Roll the dough into balls, place on tray, flatten a bit with the bottom of a glass, and sprinkle colored granulated sugar on top and bake. Or, roll the dough into balls, roll the balls in regular sugar, place on tray, and and bake. I did #3 since all I had here was boring regular white sugar.
Whatever you decide, bake for anywhere from 12-25 minutes. My recipe said 10-12, but my gas oven actually needed closer to 22 or so. May be from my pan, though stoneware generally seems to bake quicker, might be electric vs. gas ovens, or might just be my oven- it's not even 2 years old and an energy efficient model, maybe that matters?
One way to tell if your cookies are ready is to look at the tops. If they are puffed and smooth, probably not. When they start to crack a bit on top then they are done. Mine never really got golden edges but they are cooked perfectly.
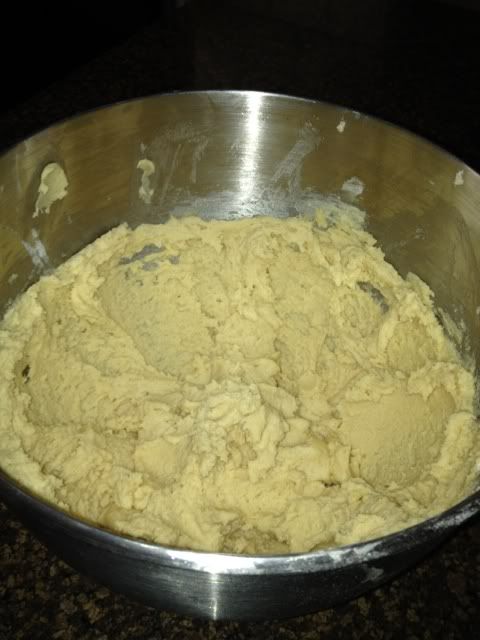
Here you can see the dough- light & fluffy! This was after a pan with about 15 cookies went into the oven.
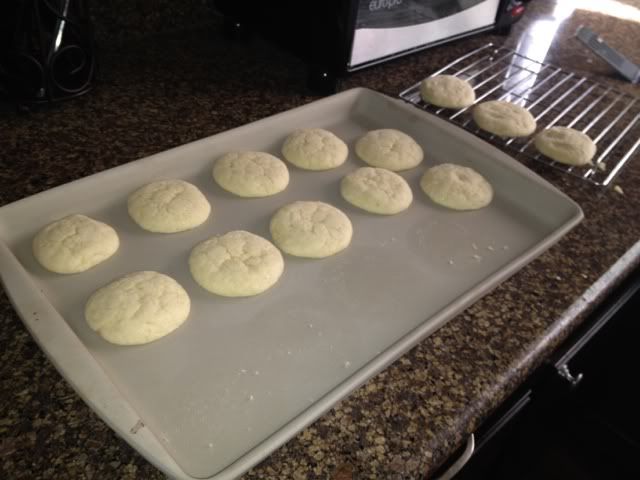
First pan ready to cool- notice how AWESOME that stoneware pan is? SUPER easy to lift off of!
I had 2 more pans of cookies from this recipe!


