Guess what? We're moving! The military is PCSing us once again and first the first time, we are homeowners. We have some time, and I spent some of that time cleaning the carpets to get the house ready for real estate photos.
One thing I gave up on cleaning was this staircase. It faces the door to the garage, so any time anyone comes in from the garage, their dirty shoes get all over this carpeted staircase. I don't know what we were thinking putting carpet here!
Home prices just aren't what they used to be, so while I want my house to look as good as possible, I also don't want to put a lot of money into it. I pulled off a DIY renovation all by myself for $39!
Supplies:
Dark, glossy paint: $12
Macademia paint: $12
Pry Bar: $7
Make it Last!: $4
Paint Brush: $5
Caulk and caulk gun: on hand, but around $3 for caulk and $6 for gun at Lowe's
Pliers: On hand, but around $4 at Lowe's
Sander: On hand, but around $40 at Lowe's
Hammer: On hand, but around $6 at Lowe's
{Yes, I realize there are 5 items you need to have on hand to stay at $39. Or, maybe you have them plus a paintbrush and a pry bar and your total will be even less!}
{TERMS}
Step: The flat part of the stair. The part you step on. The part that is dark and shiny in the final photo.
Riser: The back of the stairs. The vertical part in between each step. The part painted tan in the final photo.
 |
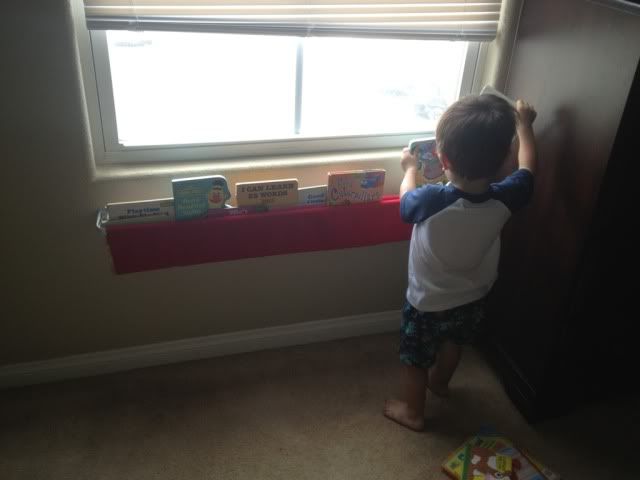
| My two year old was "helping" :) <3 |
First things first. Pry up that nasty carpet and see what we're dealing with. Just grip the corner with the pliers and pull. You should be able to pull it with your hands after the initial pull.
So what do we have? Well, gaps in the wall, for one thing. We have the carpet pad (green) and the tack bars (the wooden strips with red striping and nails sticking up). You'll also notice that despite being covered, my stairs were textured and painted like my walls. Score!
Prying up the carpet pad and staples is easy. Just rip up the pad and then remove the staples with your pliers.
For the tack bar, use your pry bar to dig under the strip of wood and lever it off. It should have nails evenly spaced- mine had about 4 per staircase width- you can remove those with a hammer after the strip is up.
I don't have photos for these next to steps.
First, take your caulk and fill in any gaps. ABOUT CAULK: Do NOT use silicone caulk. You can't paint over it.
Once your caulk is dry, sand the whole staircase. It's a pain but you don't have to do much.
Ok, back to the (blurry) photos.
Tape off the wall, the risers, basically everything around the step that you might accidentally get paint on. This is the part I painted a dark, glossy color. If this is your only way out of the house, do every other step and wait for them to dry before doing the opposite steps.
Once that's dry, tape off the steps above and below the risers. I did not tape the walls since I was using the same color as my walls. Paint your risers and let dry.
Once everything is dry, spray with Make it Last! in a fine but even mist. That dries very quickly.
Lastly, enjoy your brand new, vacuum-free staircase!


.JPG)


.jpg)