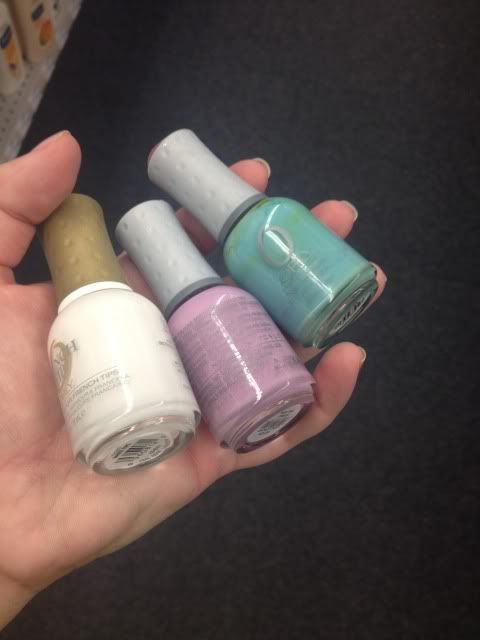
For this shirt I used Transfermations for dark colors. I either got it at Michael's, Staples, or Walmat, not 100% positive on which.
Normally when you use HTV and even HTV for light colors, you need to mirror the image before you cut. You do not need to mirror the image with HTV for dark colors. I'd always read your instructions to be sure but I've used several brands and none require this.
First, get your image all ready in Silhouette Studio. Get your cut lines situated- if you layered some elements you may need to highlight them and hit "Cut Edge" or whatever works for you. Do not mirror it! Turn on registration marks and print it. I use "Best" settings for quality. You have to use an Inkjet printer. If you've found a brand that works with a laser printer, please share! I've never seen one.
Once it's printed, stick it on your mat and load it into your Cameo. Have your machine scan the registration marks and get your cut settings ready.
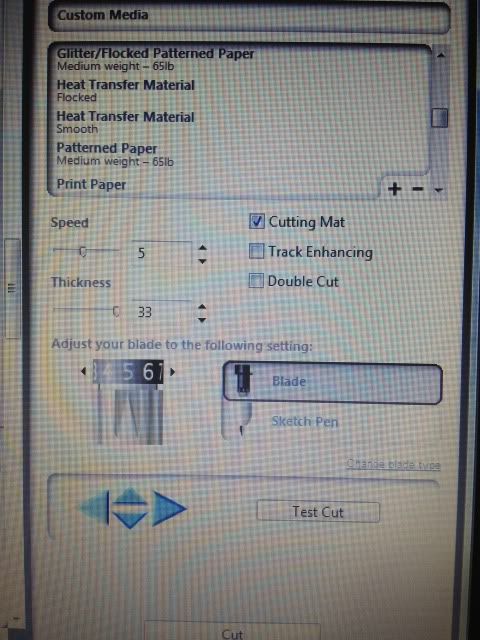
Here's a snap of what settings I use. I set it to "Flocked HTV" and then change the blade to 5. That's why it says Custom Media. ***Note- I get a lot of use out of my blades, but when I switched to a new one, I only had to use HTV Smooth settings, blade on 1! Big difference!****
Have your machine cut. You're basically doing Print & Cut, easy, right? I love Print & Cut and it's the biggest reason I bought my Cameo.
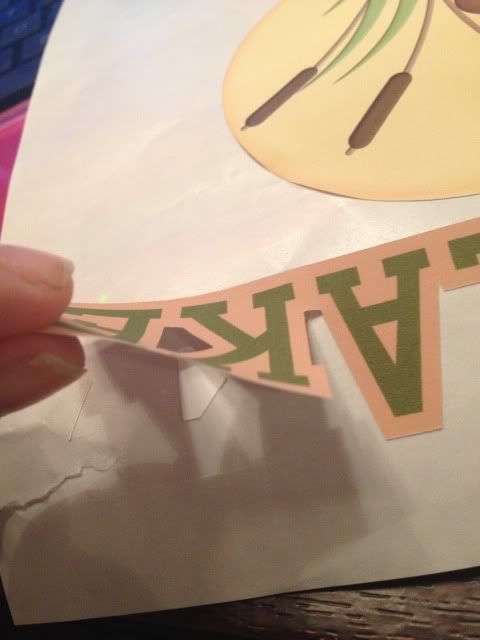
Once your design is cut, you then remove it from it's backing paper. You'll see that this stuff feels more like Siser Easyweed and not regular printable HTV.
Here's me just peeling up the corner and removing all the excess white- the backing paper does not cut, see it? I did rip it a little when grabbing that corner but it's almost like the carrier sheet of Siser Easyweed (except not used as such- just that you don't cut that paper, just your HTV. A kiss cut. Anyway..)

Aaand here's me peeling my design off the backing paper. This is the one thing I don't like. Unlike Siser Easyweed which is on a carrier sheet, I have to line up all these elements by hand separately on the t-shirt and yeah, they end up off center sometimes. I'm working on that. Practice makes perfect!
See how it weeds itself in between letters and stuff? It's pretty nifty.
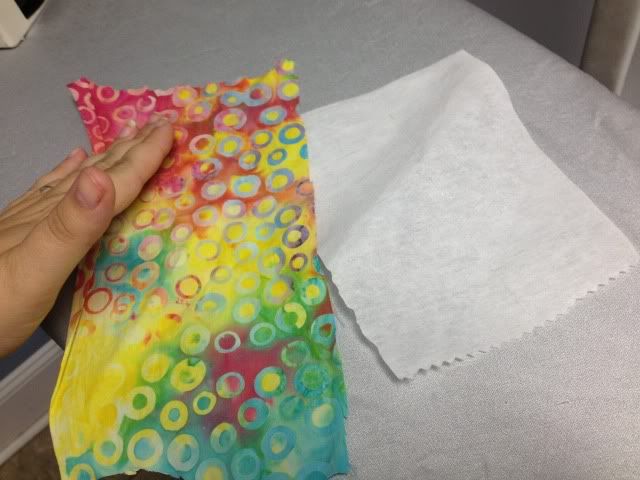
Your next step is to line everything up on your shirt (iron it first, but let it cool before you start re-arranging stuff on it) and when it's to your liking, grab a sheet of parchment paper. I've always had 1-2 sheets included in whatever pack of dark color printable HTV I buy, and it lasts for several sheets.
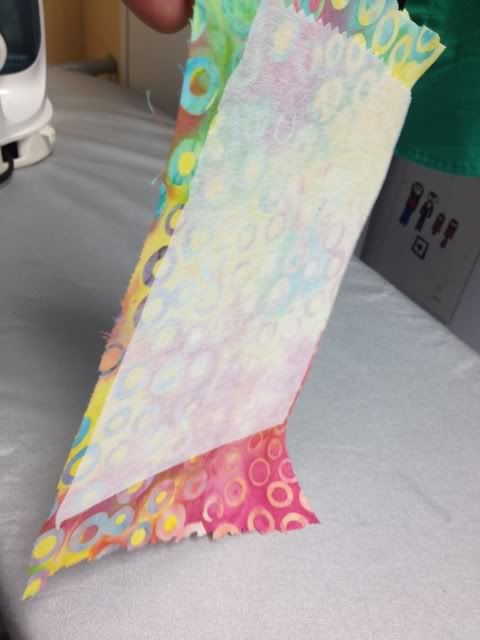
Place that over your design- careful, don't jostle anything- and iron. My iron goes from 1-6 so I set it on 6, no steam, and press really hard for 20 seconds. Then I pick it up, move it, press again, until I've done the whole design. The instructions do say not to drag your iron but to pick up and move it.
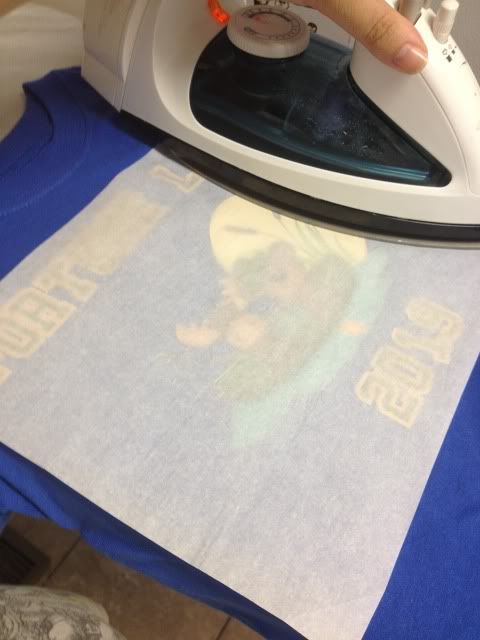
When I'm done I just lift the parchment paper- unlike the Siser Easyweed carrier sheets, it's not going to be sticky to your shirt or anything- and voila, shirt!
This IS a classic example of me arranging things crooked and/or off center, but on a wiggly 3 year old, it's not very noticeable :) With Siser Easyweed and it's sticky sheets I normally line everything up on the floor and then step back and look at it, and then I can just pick up the shirt and move it to the ironing board, but you can't do that with this stuff- no carrier sheet. My only pet peeve.
You'll also probably notice that the fishing line is missing some pieces- in removing the design from the backing that part was just too thin and I went too fast, but oh well. It is what it is. This is a tiny shirt for a tiny little toddler.
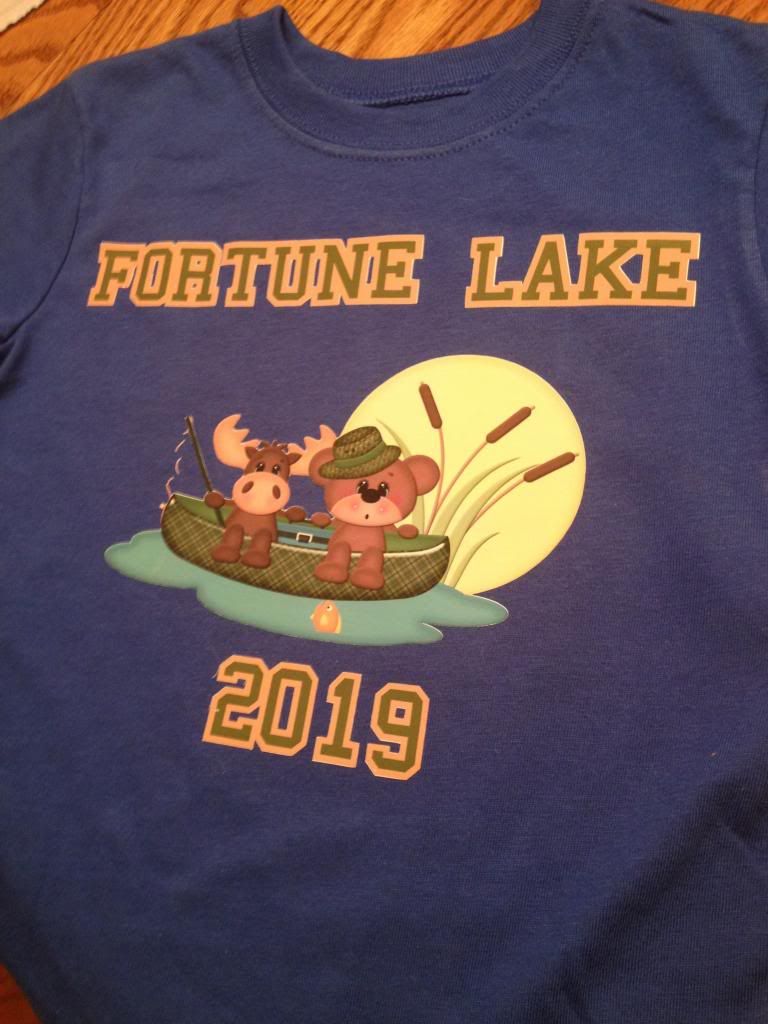
I always wash inside out, and never iron on the design itself, but other than that, I've found this stuff to be very durable!