Showing posts with label Nail. Show all posts

7.06.2013

Nail Art with Vinyl Stencils

Hi again!  Guess what's back- the nausea!  Fun fun.  In the interest of going back to bed I'm just quickly sharing some photos from almost a month ago.  I wanted to do some fun nail art for our vacation and decided to give my Cameo a 2nd try.  My disastrous first attempt with nail art stencils from the Silhouette store can be found here.

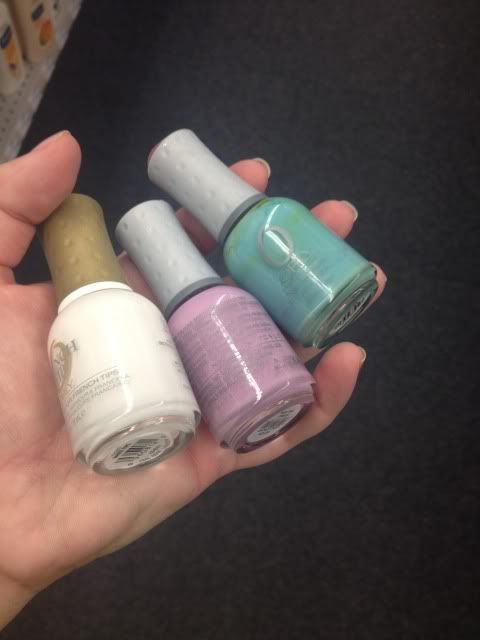
CVS was having a massive sale on Orly when I went in to pick up a prescription so I grabbed these three colors.

I painted 4 of my nails in the pinky purple and my ring finger in the white on both hands.  I then took some scrap Oracal 631 and cut it into strips.  I tried using scissors and ended up using my cameo to keep the lines straight.  After the white nail was dry (this is great polish for that by the way- I barely needed two coats) I pressed it onto the white nails, keeping it really smooth.
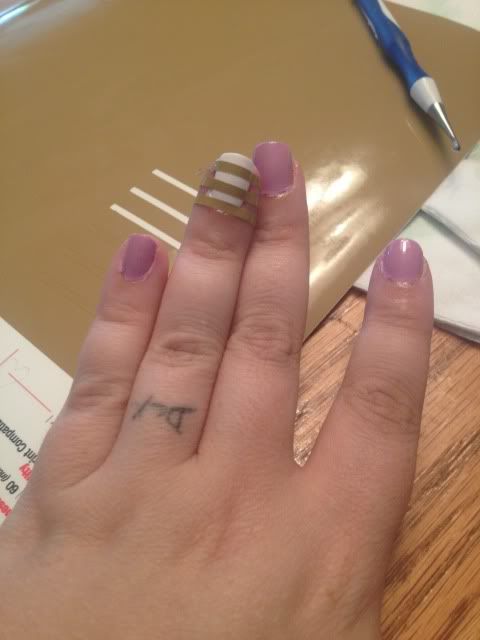


I took the turquoise and brushed it over the vinyl.  I did two light coats quickly, waited about a minute, and peeled off the vinyl.  I think that waiting for the polish to dry will just cause the whole thing to tear off.  I've always heard you should wet peel.  I then put top coat over it (Orly Won't Chip) to smooth it out.
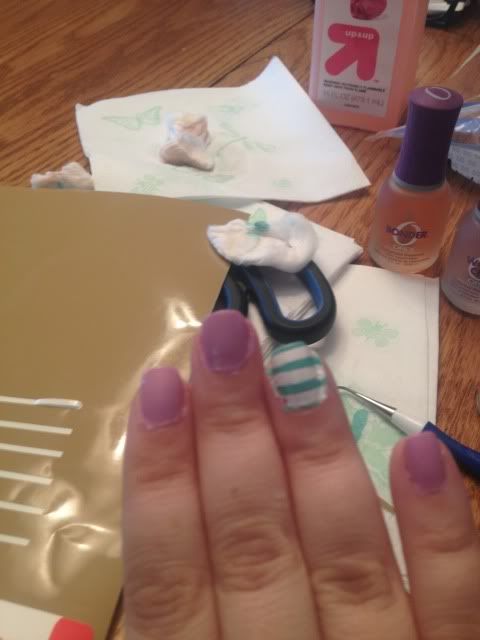

I then took a heart shape I had in my library, shrunk it wayyy down, and cut two out of the same vinyl with my Cameo.  I actually cut this heart in about 4 different tiny sizes since I wasn't really sure what size would fit.  It's kind of hard to measure your own nail!

I did the same as before- apply the vinyl to a completely dry nail, adhere smoothly, 2 quick coats of purple pink polish, wait a minute, and wet peel gently.  Again, top coat goes on top to help smooth it out.
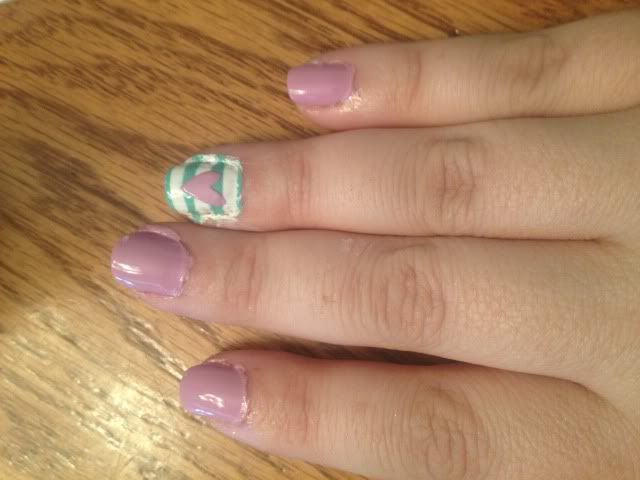

That's pretty much it!  All that's left is clean up.  I do go around the edges with a toothpick or q-tip and polish remover, but most of the mess comes off my skin in the shower so I usually don't sweat it too much.
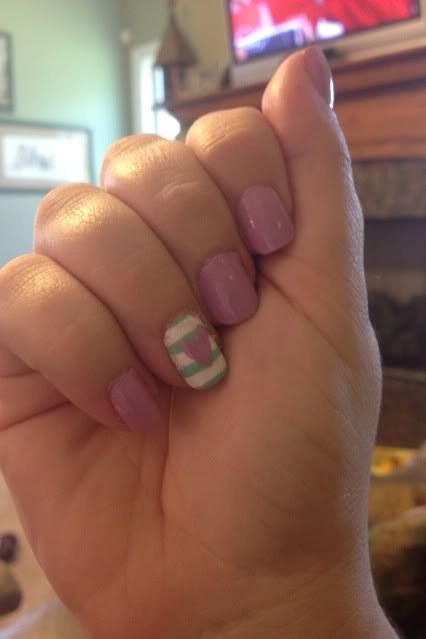
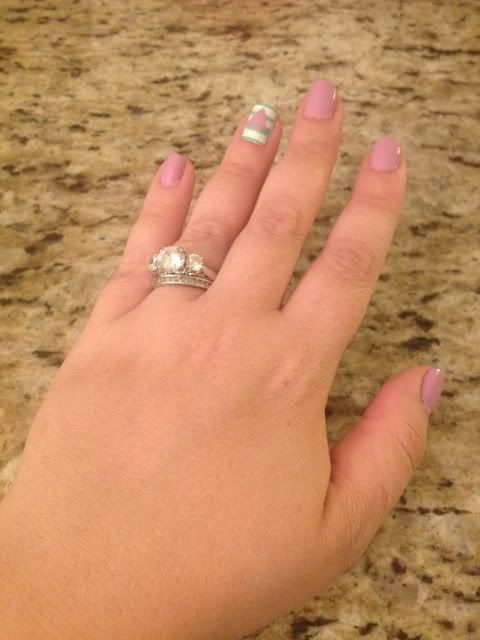


This polish design lasted soooo long!  All through vacation!  About a week after I first did this I did have to go over all the purple pinky nails with another coat & topcoat but the ring finger nail art stayed for nearly two weeks until I finally removed it all!  It lasted through a Disney vacation which was a plus!

5.24.2013

Monogram nail art with the Silhouette Cameo

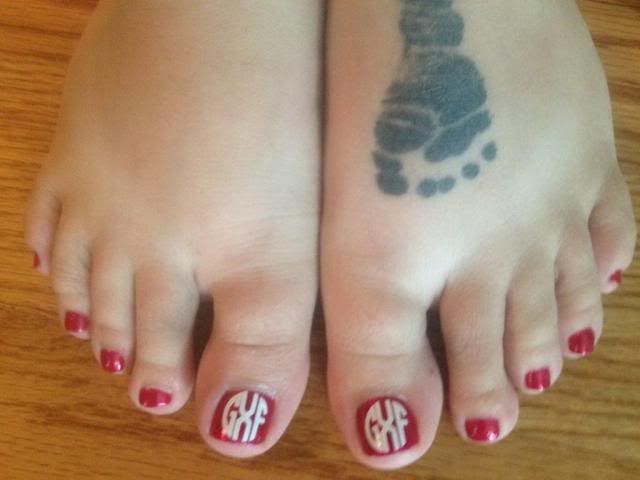
I saw this in a few places online recently, and yesterday I hit a pretty big wall of procrastination.  I'm taking 4 classes to be done with my degree in June, in the middle of buying a house, a PCS move to another state, and of course pregnant and taking care of my 3 year old.  Rather than do ANYTHING on my massive to-do list, I took some vinyl and monogrammed my pedicured toes.

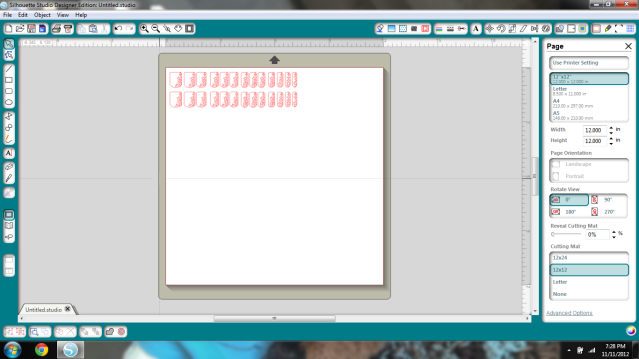
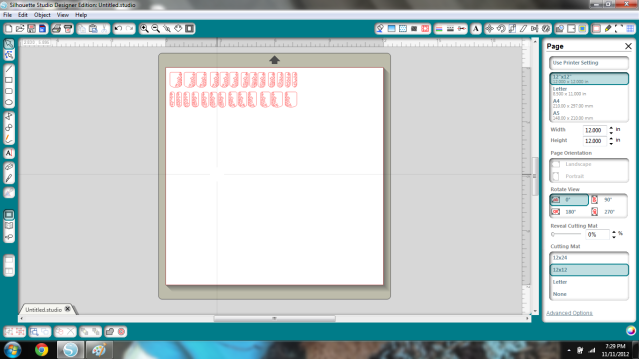
The font is the Circle Monogram from Font Bros. and I used white Oracal 341 for the vinyl.  I wish I could get an accurate idea of the size.  The thing is, when I select an image in Silhouette Studio, the box it puts around it and measure with tends to be a little bigger than the actual design especially when using font.  I believe the total window was 1.42" wide, but the actual design is maybe .80" wide.  It'll depend on your own toes, of course!


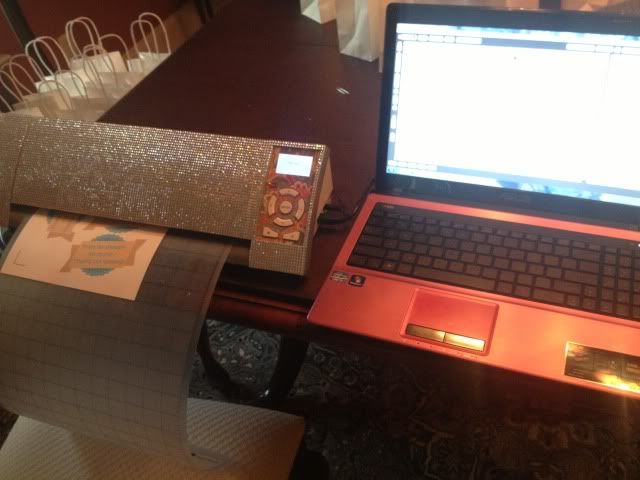
While we're on a girly topic, my workstation has gotten pretty girly lately, huh?


I bought two large sheets of self-adhesive rhinestones from Allstarco.com, cut them to size, and adhered to the Cameo.  Took maybe 10 minutes and I didn't use all of the first sheet so I have lots left over to play with :) As for the computer...pink was on sale.  Nobody wanted it.  I got a great deal.  It's growing on me.

11.13.2012

Silhouette Cameo Nail Stencil Review

I was bored and kind of crafty-burned-out today after working so hard to get ready for last weekend's craft fair.  Awhile back I had seen nail designs in the Silhouette Store but I hadn't looked at them very closely.  I decided to give those a try today.

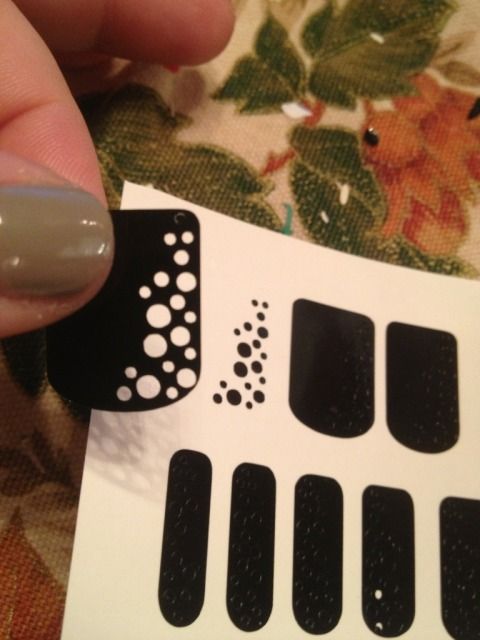
I bought the "Side Dots" design from the Silhouette Store and looked at the blog of the creator  as the store instructs for a how-to.  When I saw these awhile back I thought these WERE the decorations but you actually cut the stencil.

Ok, down to business.


First I decided to flip half of the designs so that on my right and left hands the designs would be opposite; not all to the right.


Then I hit Cut and waited approx. 11 minutes.  It felt like forever!  Lots of tiny pieces.

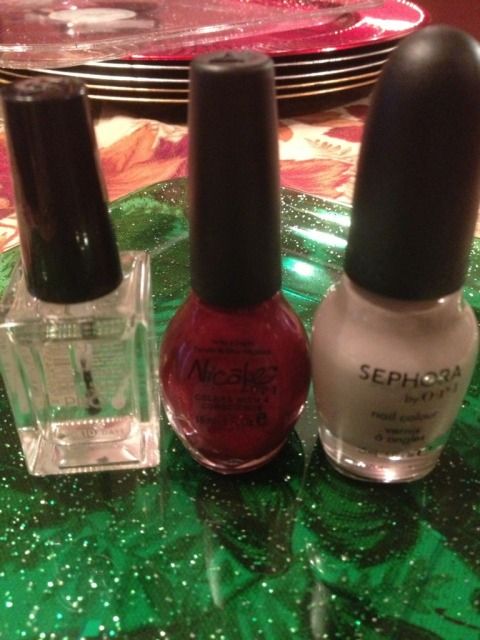
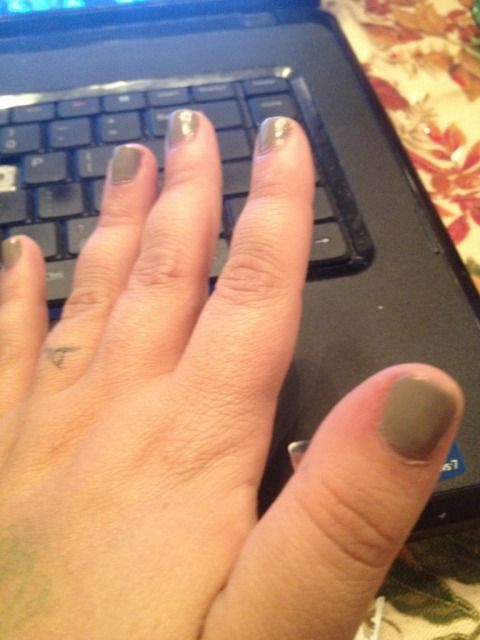
While I was waiting I took a pic of my polishes & a before pic of my base polish.


The design finally finished cutting and I was already dreading the weeding, but guess what?  If you start at the top and pull it nearly back on itself, most if not all of the dots weed themselves.


Next, you find the ones that match your nail size, press them on, and paint over with your desired color.  All designs probably have this issue so I'm going to point out you almost have to dab, not brush, or the bristles just skip over the holes.


I tried two things now.

1) The blog says to wait until your nails dry to peel this off
2) I've always heard that when stenciling, peel BEFORE it's 100% dry or you risk the design peeling with the stencil.

So I tried both.

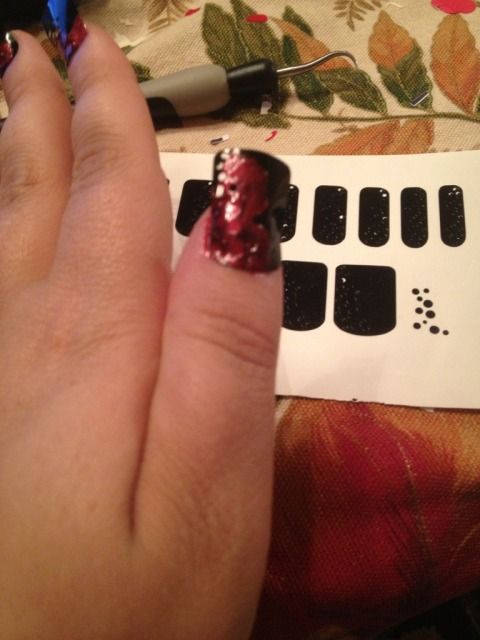
Left- 1, right- 2


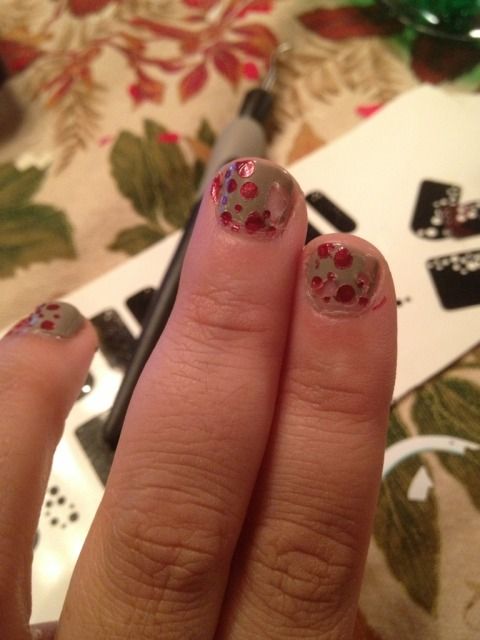
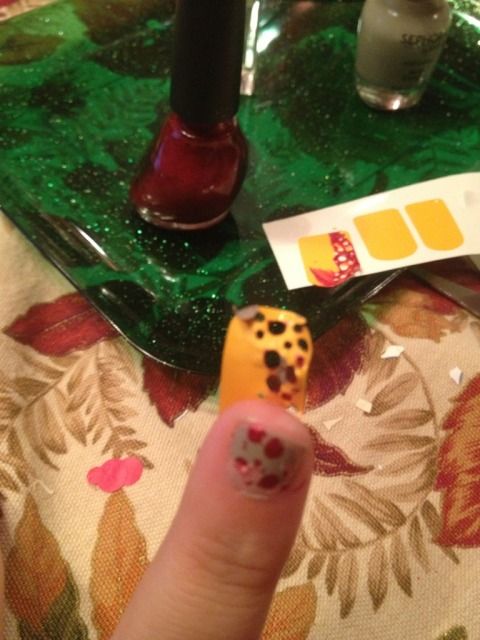
Pretty awful.  The grey polish is from yesterday so I know it was 100% dry.  Damp or dry didn't make a difference for the stencil.  The vinyl left goo behind.  The blog has a comment about wiping that off with alcohol and a swab, but since that's also how you remove nail polish altogether, I didn't give it a try (though this is coming off anyway).

This black vinyl is Oracal 641.  I also have some Oracal 341 which is meant for short-term so I thought perhaps it would work better.

I recut the stencils for my right hand in 341 and repeated the process.  


Again, it peeled off pieces of the perfectly dry grey nail and left residue behind.

Sadface.


Showing posts with label Nail. Show all posts

7.06.2013

Nail Art with Vinyl Stencils

Hi again!  Guess what's back- the nausea!  Fun fun.  In the interest of going back to bed I'm just quickly sharing some photos from almost a month ago.  I wanted to do some fun nail art for our vacation and decided to give my Cameo a 2nd try.  My disastrous first attempt with nail art stencils from the Silhouette store can be found here.

CVS was having a massive sale on Orly when I went in to pick up a prescription so I grabbed these three colors.


I painted 4 of my nails in the pinky purple and my ring finger in the white on both hands.  I then took some scrap Oracal 631 and cut it into strips.  I tried using scissors and ended up using my cameo to keep the lines straight.  After the white nail was dry (this is great polish for that by the way- I barely needed two coats) I pressed it onto the white nails, keeping it really smooth.


I took the turquoise and brushed it over the vinyl.  I did two light coats quickly, waited about a minute, and peeled off the vinyl.  I think that waiting for the polish to dry will just cause the whole thing to tear off.  I've always heard you should wet peel.  I then put top coat over it (Orly Won't Chip) to smooth it out.


I then took a heart shape I had in my library, shrunk it wayyy down, and cut two out of the same vinyl with my Cameo.  I actually cut this heart in about 4 different tiny sizes since I wasn't really sure what size would fit.  It's kind of hard to measure your own nail!

I did the same as before- apply the vinyl to a completely dry nail, adhere smoothly, 2 quick coats of purple pink polish, wait a minute, and wet peel gently.  Again, top coat goes on top to help smooth it out.


That's pretty much it!  All that's left is clean up.  I do go around the edges with a toothpick or q-tip and polish remover, but most of the mess comes off my skin in the shower so I usually don't sweat it too much.


This polish design lasted soooo long!  All through vacation!  About a week after I first did this I did have to go over all the purple pinky nails with another coat & topcoat but the ring finger nail art stayed for nearly two weeks until I finally removed it all!  It lasted through a Disney vacation which was a plus!

5.24.2013

Monogram nail art with the Silhouette Cameo

I saw this in a few places online recently, and yesterday I hit a pretty big wall of procrastination.  I'm taking 4 classes to be done with my degree in June, in the middle of buying a house, a PCS move to another state, and of course pregnant and taking care of my 3 year old.  Rather than do ANYTHING on my massive to-do list, I took some vinyl and monogrammed my pedicured toes.

The font is the Circle Monogram from Font Bros. and I used white Oracal 341 for the vinyl.  I wish I could get an accurate idea of the size.  The thing is, when I select an image in Silhouette Studio, the box it puts around it and measure with tends to be a little bigger than the actual design especially when using font.  I believe the total window was 1.42" wide, but the actual design is maybe .80" wide.  It'll depend on your own toes, of course!


While we're on a girly topic, my workstation has gotten pretty girly lately, huh?


I bought two large sheets of self-adhesive rhinestones from Allstarco.com, cut them to size, and adhered to the Cameo.  Took maybe 10 minutes and I didn't use all of the first sheet so I have lots left over to play with :) As for the computer...pink was on sale.  Nobody wanted it.  I got a great deal.  It's growing on me.

11.13.2012

Silhouette Cameo Nail Stencil Review

I was bored and kind of crafty-burned-out today after working so hard to get ready for last weekend's craft fair.  Awhile back I had seen nail designs in the Silhouette Store but I hadn't looked at them very closely.  I decided to give those a try today.

I bought the "Side Dots" design from the Silhouette Store and looked at the blog of the creator  as the store instructs for a how-to.  When I saw these awhile back I thought these WERE the decorations but you actually cut the stencil.

Ok, down to business.


First I decided to flip half of the designs so that on my right and left hands the designs would be opposite; not all to the right.


Then I hit Cut and waited approx. 11 minutes.  It felt like forever!  Lots of tiny pieces.

While I was waiting I took a pic of my polishes & a before pic of my base polish.


The design finally finished cutting and I was already dreading the weeding, but guess what?  If you start at the top and pull it nearly back on itself, most if not all of the dots weed themselves.


Next, you find the ones that match your nail size, press them on, and paint over with your desired color.  All designs probably have this issue so I'm going to point out you almost have to dab, not brush, or the bristles just skip over the holes.


I tried two things now.

1) The blog says to wait until your nails dry to peel this off
2) I've always heard that when stenciling, peel BEFORE it's 100% dry or you risk the design peeling with the stencil.

So I tried both.

Left- 1, right- 2


Pretty awful.  The grey polish is from yesterday so I know it was 100% dry.  Damp or dry didn't make a difference for the stencil.  The vinyl left goo behind.  The blog has a comment about wiping that off with alcohol and a swab, but since that's also how you remove nail polish altogether, I didn't give it a try (though this is coming off anyway).

This black vinyl is Oracal 641.  I also have some Oracal 341 which is meant for short-term so I thought perhaps it would work better.

I recut the stencils for my right hand in 341 and repeated the process.  


Again, it peeled off pieces of the perfectly dry grey nail and left residue behind.

Sadface.