
I bought the "Side Dots" design from the Silhouette Store and looked at the blog of the creator as the store instructs for a how-to. When I saw these awhile back I thought these WERE the decorations but you actually cut the stencil.
Ok, down to business.
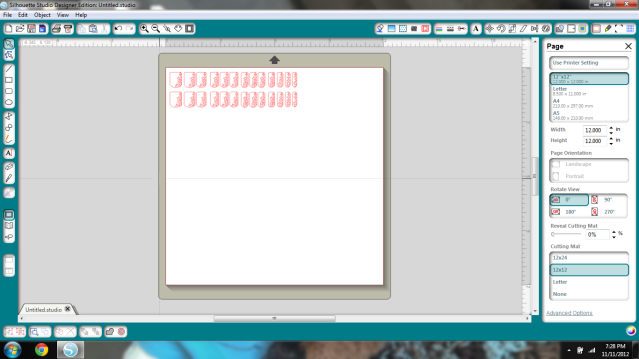
First I decided to flip half of the designs so that on my right and left hands the designs would be opposite; not all to the right.
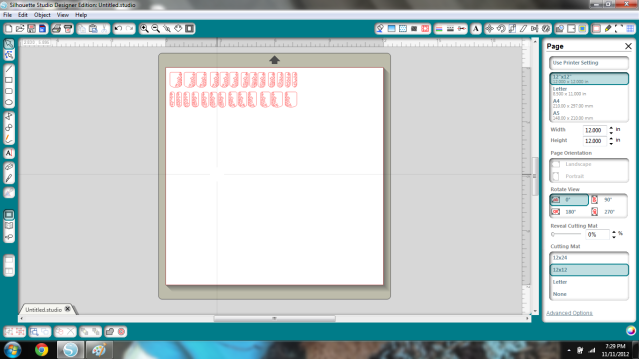
Then I hit Cut and waited approx. 11 minutes. It felt like forever! Lots of tiny pieces.
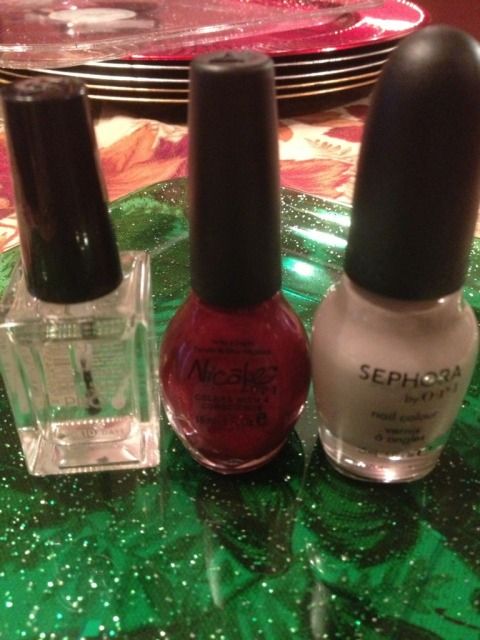
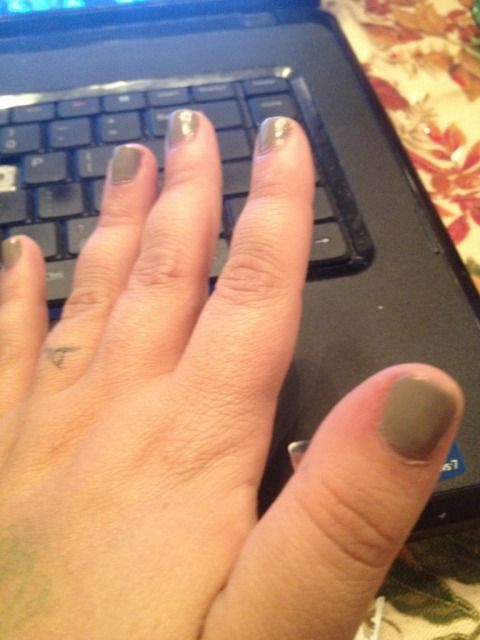
While I was waiting I took a pic of my polishes & a before pic of my base polish.
The design finally finished cutting and I was already dreading the weeding, but guess what? If you start at the top and pull it nearly back on itself, most if not all of the dots weed themselves.
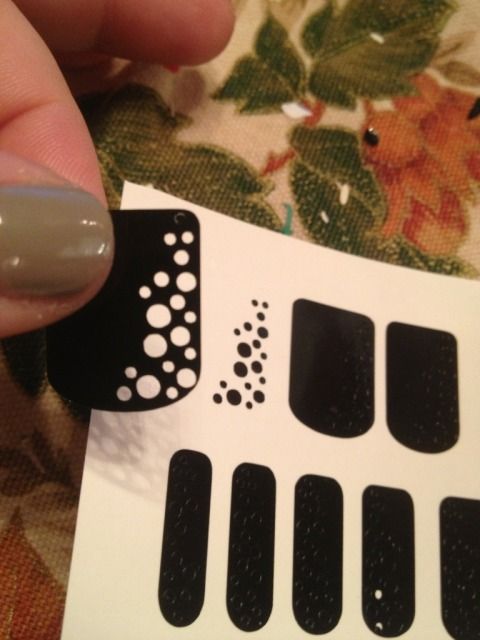
Next, you find the ones that match your nail size, press them on, and paint over with your desired color. All designs probably have this issue so I'm going to point out you almost have to dab, not brush, or the bristles just skip over the holes.
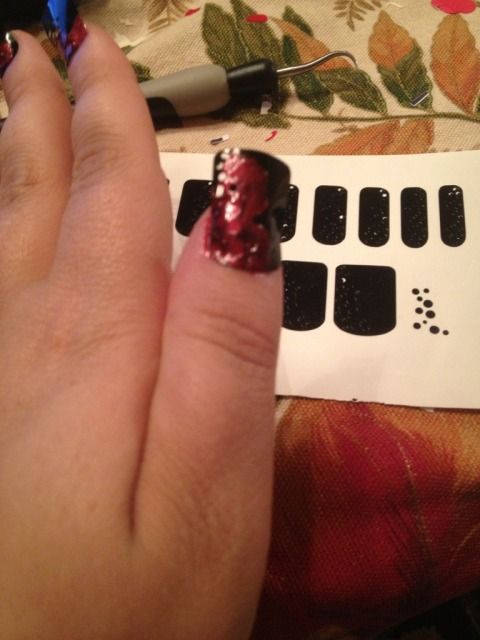
I tried two things now.
1) The blog says to wait until your nails dry to peel this off
2) I've always heard that when stenciling, peel BEFORE it's 100% dry or you risk the design peeling with the stencil.
So I tried both.
Left- 1, right- 2
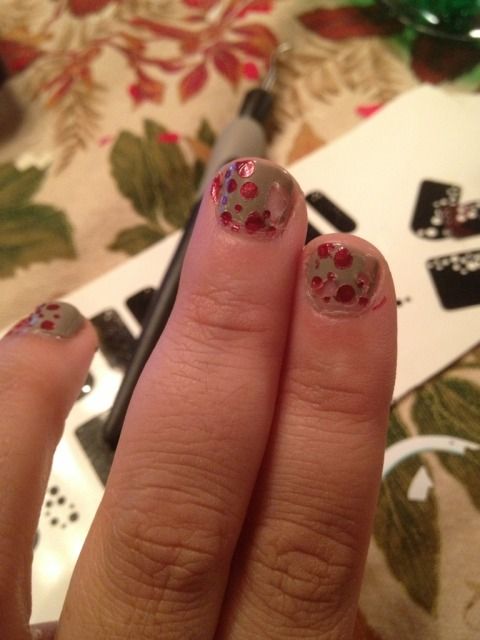
Pretty awful. The grey polish is from yesterday so I know it was 100% dry. Damp or dry didn't make a difference for the stencil. The vinyl left goo behind. The blog has a comment about wiping that off with alcohol and a swab, but since that's also how you remove nail polish altogether, I didn't give it a try (though this is coming off anyway).
This black vinyl is Oracal 641. I also have some Oracal 341 which is meant for short-term so I thought perhaps it would work better.
I recut the stencils for my right hand in 341 and repeated the process.
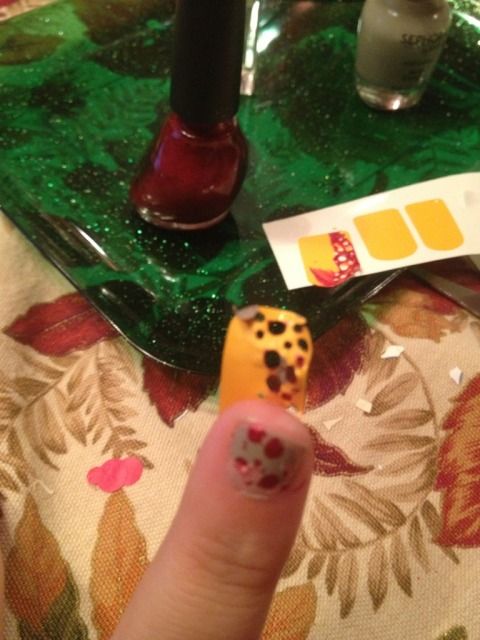
Again, it peeled off pieces of the perfectly dry grey nail and left residue behind.
Sadface.

I'm thinking the vinyl was too strong. maybe the dallor tree contact paper might not pull up the dry nail polish?
ReplyDeleteIf you topcoat the polish, it will stop it from lifting.
ReplyDelete