Doesn't it look just like fresh yummy bread?
I'm supposed to be eating low carb/high protein for awhile, but I'm Italian. I'm pretty sure my blood is made of carbs. I decided to make this bread to see how it turned out.
I ended up using this recipe BUT I googled a few recipes first, and added 1 pinch of salt to this recipe. Also 1 packet of sweetener didn't equal 1/8 teaspoon, it's nearly two packets. So, modified recipe below:
You need:
3 eggs
2 packets or 1/8 teaspoon artificial sweetener
3 tablespoons of either fat free cream cheese OR cottage cheese
1/4 teaspoon Cream of Tartar
Pinch of Salt
Recipe:
Preheat oven to 300 degrees.
Take your 3 eggs and separate the yolks from the whites as carefully as possible.
Mix together the yolks, the cheese, the salt, and the sweetener until it's creamy and smooth.
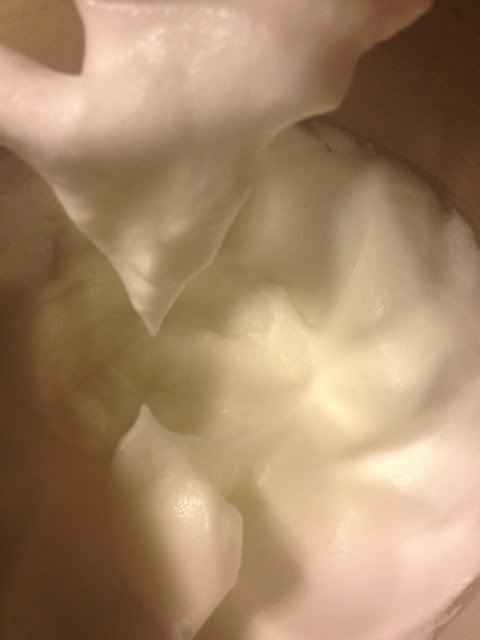
In a separate bowl, beat the whites and the cream of tartar until they form stiff peaks. This can take 5+ minutes of beating.
This is how a stiff peak will look. Not drippy- doesn't fall over:
Fold the two mixtures together carefully. You don't want to press the air out of the whites mixture.
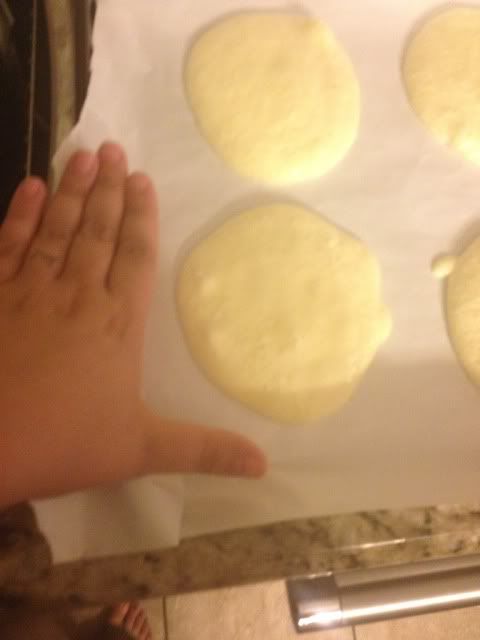
Scoop batter onto greased baking sheet.
I made six that were this size (this is batter, not baked)
Bake for about 30 minutes- your oven may vary!
Now you should have this!

The smell a bit eggy. Almost like this is what is used for the bun of an Egg McMuffin. On the other hand, they taste very light and have almost no flavor. I think it would be great for grilled cheese or maybe a cheese/meat sandwich, but for my beloved and missed peanut butter sandwich, I wasn't all that impressed.