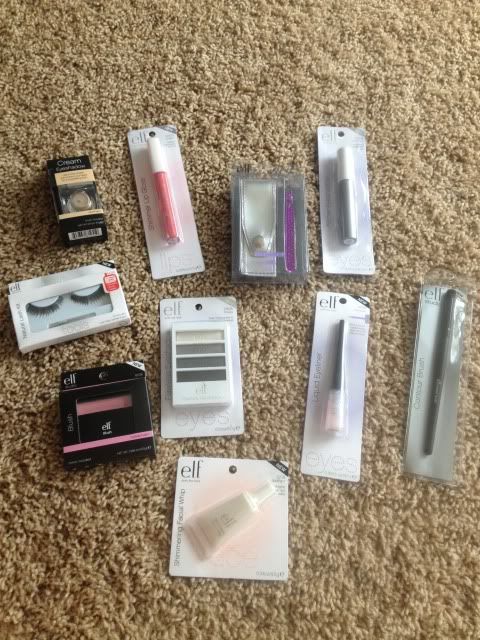
Last week I saw that ELF was giving away a free "Mystery Bag" worth "at least" $20 if you spent a certain amount. There were a few products I had wanted to try, so I took the plunge and ordered a bunch (mostly products I heard were dupes of things such as Orgasm blush, High Beam highlighter, etc). My Mystery Bag (pictured below) had some interesting products in it.
Product link, shade, list price, and impressions
Cream Eyeshadow in Natural Glow $3 nice color- very glittery on and not super smooth
Shimmer Lip Gloss in Dream $2 not my thing but looks like Orgasm line dupe
Gem Tweezer with Pouch in Purple $4 I do need tweezers but gems look uncomfortable and not well placed
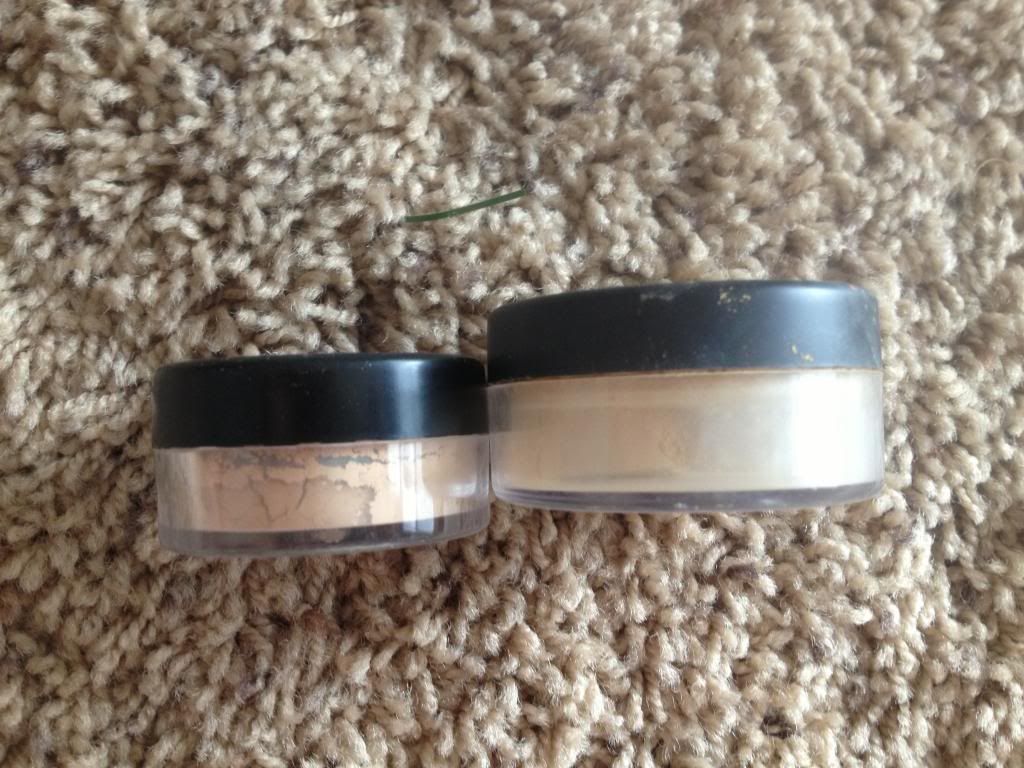
Primer Eyeshadow in Sexy Silver $2 silver???
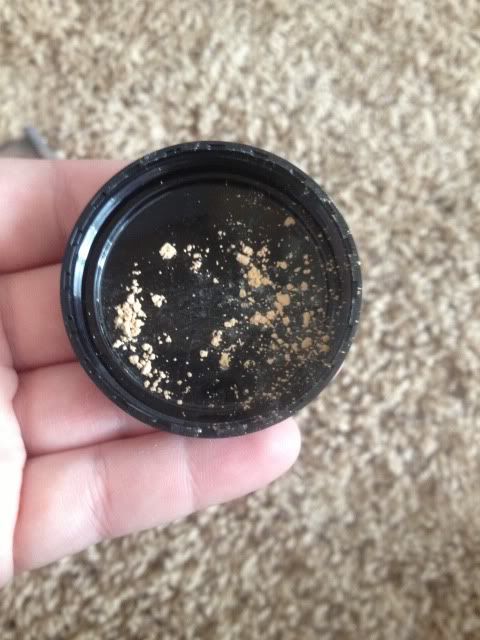
Studio Lashes in Natural $4 hard to tell if this is same thing- glue looks same- put some glue on finger and it did not get tacky, kind of thin
Flawless Eyeshadow Palette in Smoky $2 like that it labels where to put each color- brush is cheap as heck
Liquid Eyeliner in Stardust $1 not sure about clear glittery eyeliner- it really is just clear with some glitter, but draws a great line. May order colors
Studio Contour Brush $3 love the studio kabuku brush
Studio Blush in Fuschia Fusion $3 looks very pink with glitter- was much lighter on than I expected
Shimmering Face Whip in Spotlight $1 also in my order- a tad glittery so don't OD it
Total: $25 worth of product
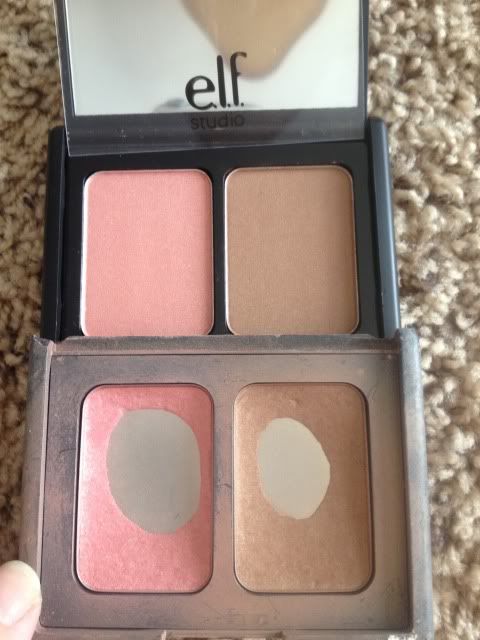
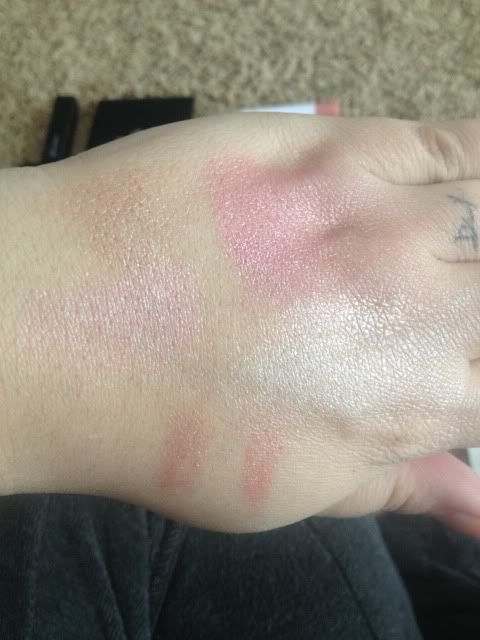
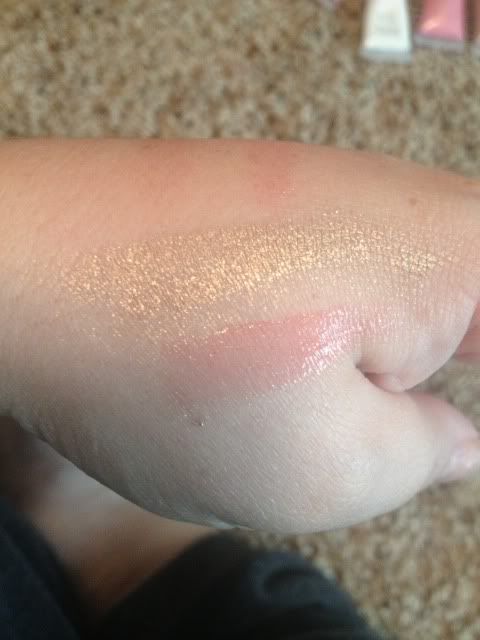
Here's some products from my order to show you how the dupes look, and some swatches of both my order and my Mystery Bag-
Top: ELF
Studio Blush & Bronzer in St. Lucia. Bottom:
Nars Orgasm blush/Laguna bronzer. Appear identical- NARS much pinker on website than in person.
Left: ELF
Mineral Foundation in Warm, right
Bare Minerals foundation in Golden Medium. Colors seem similar, Elf is a touch pale-r, but I was guessing at a color match based on website swatches.
\\
 |
| Elf- left, Bare Minerals- right |
Shimmering Facial Whips (comparable to Benefit highlighters, I hear):
Top left: Toasted
Top right: Pink Lemonade
Middle Left: Persimmon
Middle Right- Spotlight
Jumbo Lip Gloss Sticks
Bottom left line: Summer Nights
Bottom right line: Tiki Torches
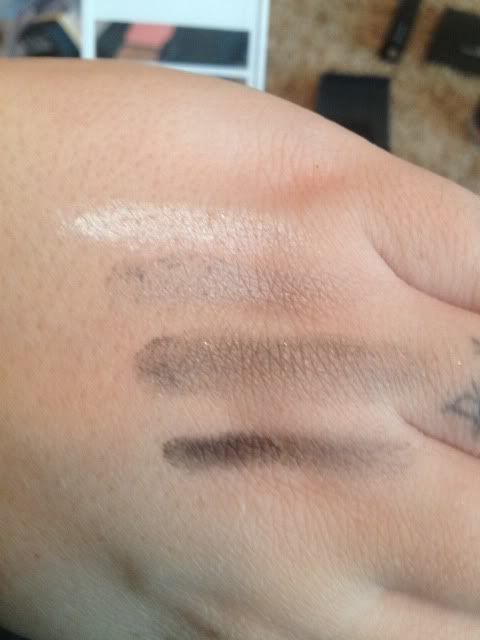
Top: Cream Eye Shadow in Natural Glow
Bottom: Shimmer Lip Gloss in Dream
Top: Eye Shadow Primer in Silver
Middle: Blush in Fuschia Fusion
Bottom: Liquid Eye Liner in Clear Glitter "Stardust"
Flawless Eye Shadow Palette in Smokey- all colors are labeled where to apply. Top color is base (lids to brows) second down is lids, third down is crease, and bottom is liner.
For the last two days I've been altering my makeup a bit. Normally I do either Dr. Jart BB Cream or MAC foundation mixed with green Smashbox primer, conceal with Benefit Boooing, top that with Bare Minerals, spray with Skindanavia setter, use Orgasm blush and Laguna bronzer, Urban Decay eye primer, Urban Decay Naked/Naked 2 shadows (also use as liners), MAC mascara, and no lip gloss, highlighter, finisher, etc.
Instead I've been using MAC foundation mixed with ELF Facial Whip in Toasted, then dust with ELF High Definition Powder (hear it's a Make Up Forever dupe), then take Facial Whips in Pink Lemonade (lips), Persimmion (cheeks), and Toasted (nose), use ELF St. Lucia blush (really does look like Orgasm) on cheekbones, Facial Whip in Spotlight on brown bones, Urban Decay eye primer, ELF Cream Eyeshadow in Natural Glow, MAC mascara, and ELF Shimmering Lip Gloss in Dream. If I feel like I OD'd on the Facial Whips I dust more HD Powder on again.
You can see from my normal routine that I'm a product snob (nothing is from a drugstore) but I'm liking the ELF products so far. I even liked the lip gloss, which is not a product I normally wear because I find them uncomfortable. ELF is supposed to have a dupe for Guelerain Meteroites coming out this year, and since Meteorites costs $58, I hope it's soon because I really want to try it. The products so far don't have weird smells and hold up very nicely, even without Skindanavia. In fact, halfway thought my hand swatches pictured above, I had to run out to the chicken coop and do some feeding, cleaning, and temperature adjusting for the 94 baby pheasants we are raising, and when I came back inside the swatches were still intact.
My only complaint is that my chin is now breaking out, but I also recently bought a Clarisonic Mia and have had it for almost 2 weeks, so I could be in the "it gets worse before it gets better" face of exfoliation.
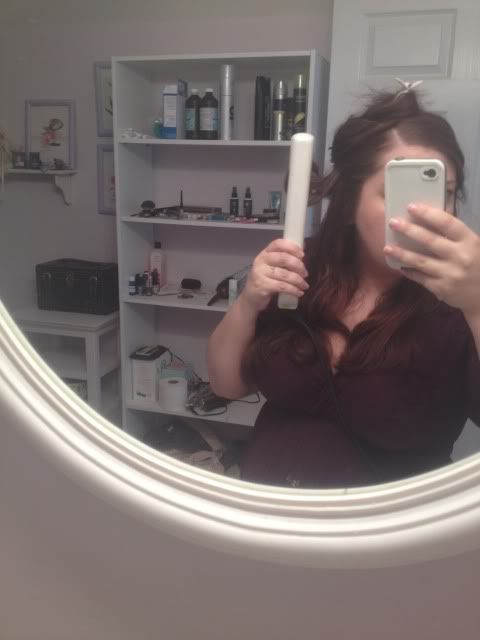
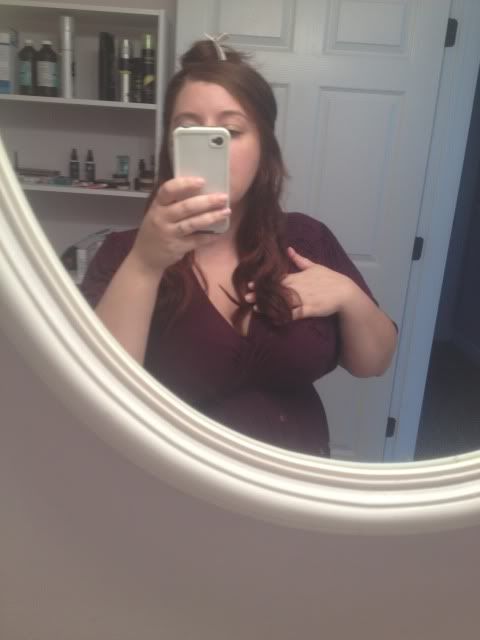
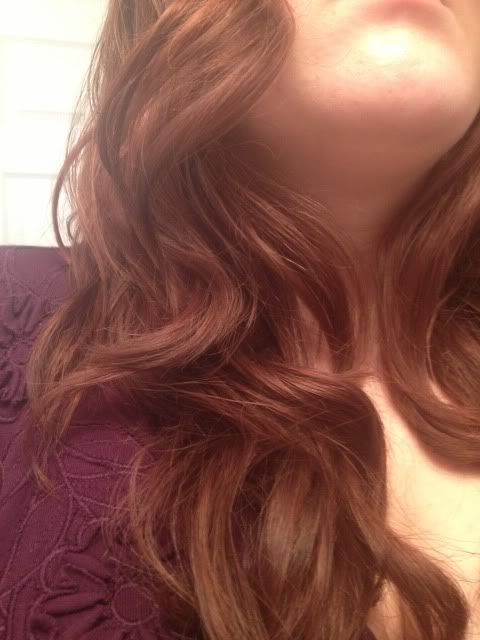
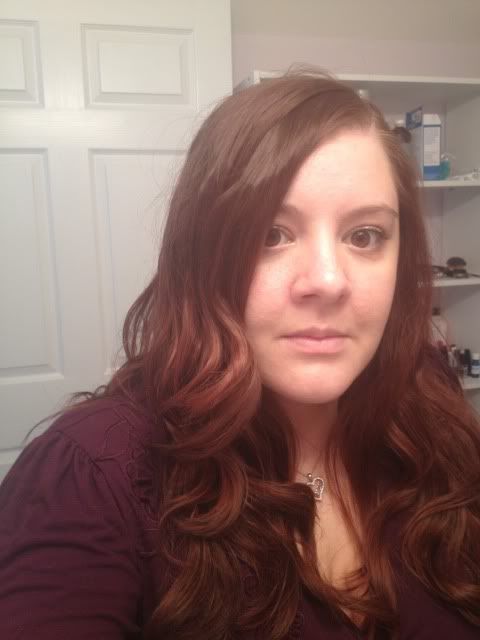
I did take some photos of my face with the ELF makeup routine, but for some reason I feel awkward posting them. I would recommend trying them though. They seem to be quality products with lots of high end dupes and if you don't like it, you're out about $6 at the most, but likely only $1-2.