
The first thing I had to do was get supplies.
Frame- 12x12 scrapbook frame at Michaels
Package of colored card stock
1 piece of white card stock (wasn't in the colored package)
1 piece of card stock with a grid pattern- not really necessary but you'll see that I used it to help line everything up.
Total (with two coupons): $9.09 tax included, and I have about 75 pieces of 12x12 card stock left over
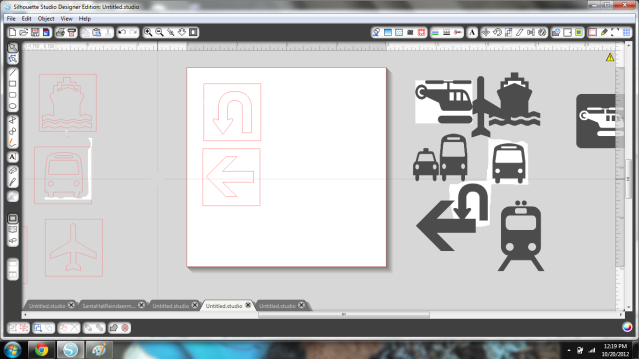
So first, I had to find all the images. Lots of google helped here. I saved them all and then traced them in Silhouette Studio.
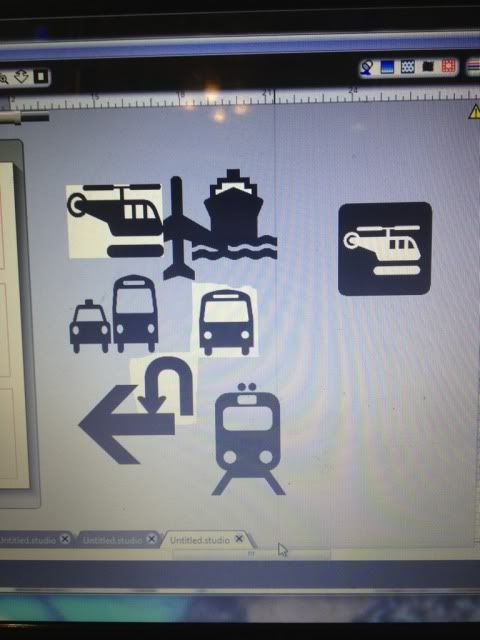 |
| Untraced images |
Next came the grid. I wanted this to fill most of a 12x12, evenly spaced. I wanted the squares to be actual squares also. I drew one, resized it, and duplicated it til everything was lined up.
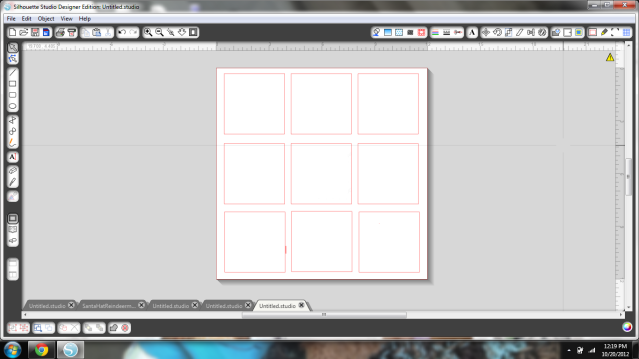
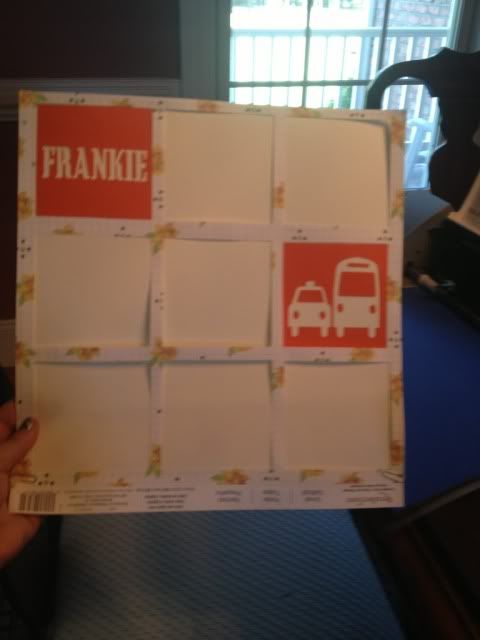
Next I cut this blank grid out to help with spacing. I used my paper that had a grid just to give me a little more help. I paperclipped this guide to the white cardstock that I'd be gluing on to.
 |
| Not at the gluing step yet, but showing the grid! |
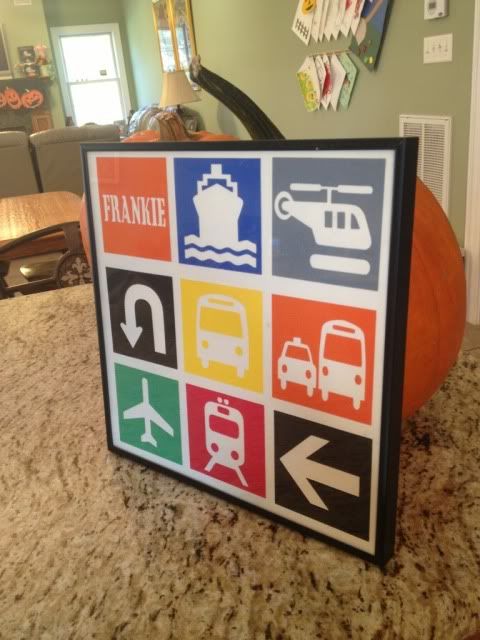
So now I took all of those images that I traced and resized each to fit inside the grid. My son's name is a font called Cargo Crate.
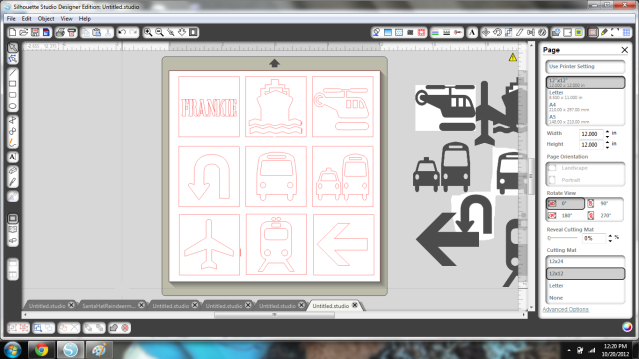
I liked how it looked. Now I separated them into what would be colored what- in this case, both arrows are black, so I just kept those two on to cut on black cardstock. Then the oranges, red, yellow, green, blue, & grey. One by one, moving things on and off the cutting area.
Everything gets glued inside the grid (look up 3 pictures if you've forgotten). Since I used the outer area and not the shape itself that was cut (I don't know if there are proper terms here), I stuck all the shapes in an envelope for another day. After everything was placed I unclipped the grid and let it sit to dry for a few minutes.
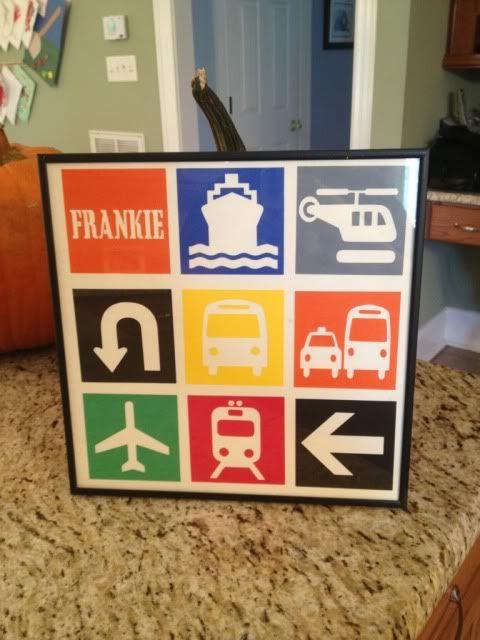
Want to make one yourself? You're in luck, because I'm sharing the file for free right here! Also, go here if you need to download the blank grid (maybe fill it with tiaras and flowers instead of vehicles, for a girl?). All you need is a free font called Cargo Crate to fill in the name square and the proper materials for actually cutting & framing. I hope you enjoy it and if you use it to make something, please come share a pic! :)
Also, that giveaway for a free Chomas Creations Marker Holder is coming soon- open to blog followers (and you're chances are pretty high!), so stay tuned!
No comments:
Post a Comment