
This is a pretty simple before and after, with a HUGE after difference! Even better, I did not need to buy a single organizational item. Sometimes, the best thing to do is simply to empty, purge, clean, and group together items that work together.
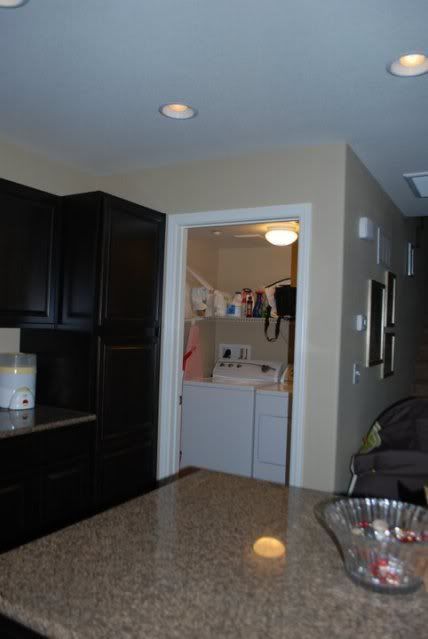
This is a small room to start with. All we had was a wire shelf above the machines. Please excuses the old photo- this was when we first moved in and before we added cabinet hardware or anything really!
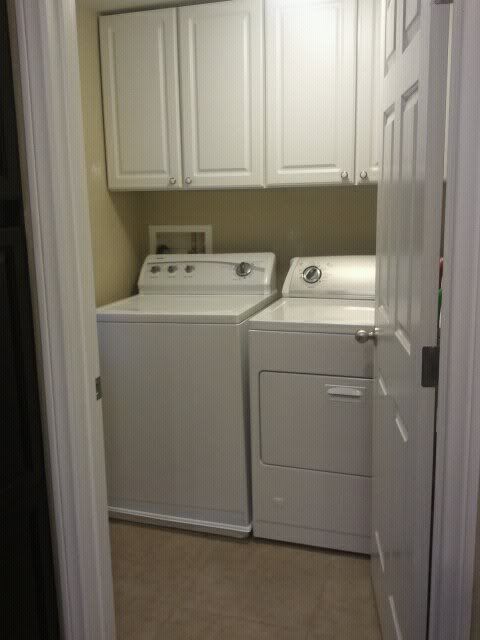
One time my dad got really bored on a visit and bought 2 finished white cabinets at Lowe's for under $100. Installing cabinets is easy if you have a helper to hold them- you literally just screw the cabinet into a stud. They looked great! By the way, I AM aware that buying cabinets =/= no costs...this is more about organizing these cabinets, which I've had in for over a year now and were MESSY!
However, having that space meant space to fill, and it quickly got out of control.
Here are the cabinets before:
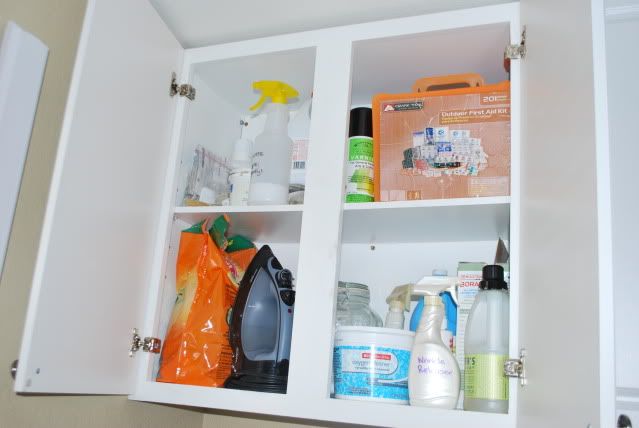 |
| above washing machine |
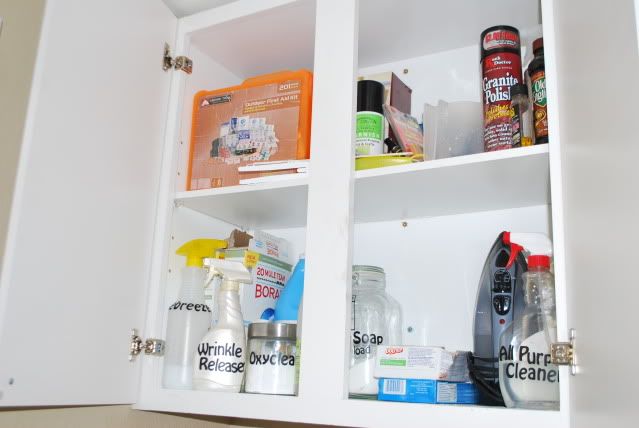
Top- Odds and ends like furniture pads, shelf brackets, spare smoke alarms, etc, homemade Febreeze, paint and varnish, a first aid kid, and behind the first aid kit a small tool box and a box of home ownership papers
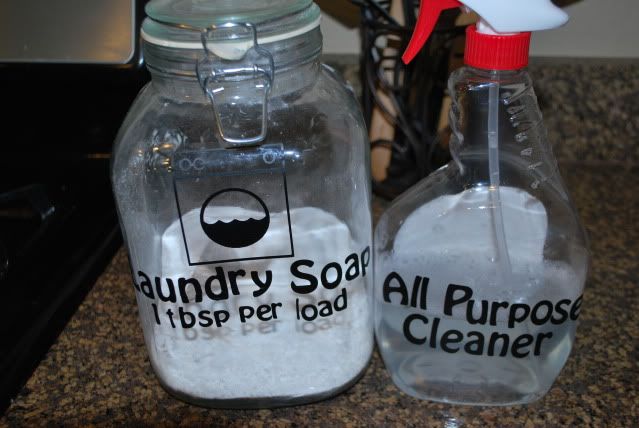
Bottom- cat litter, iron, big glass jar of homemade laundry soap, tub of oxyclean, starch, borax, homemade wrinkle releaser, an empty spray bottle, and Mrs. Meyers liquid detergent
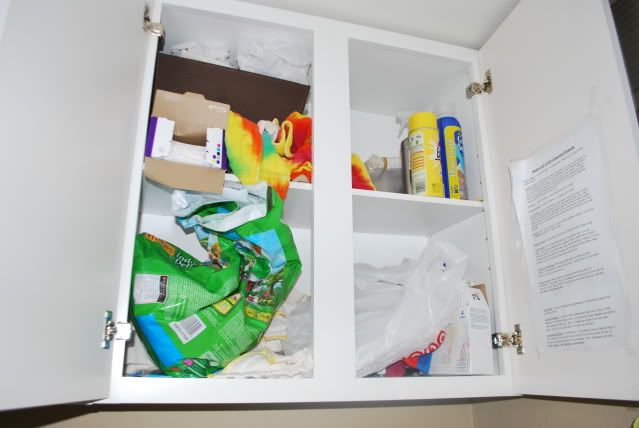 |
| above dryer |
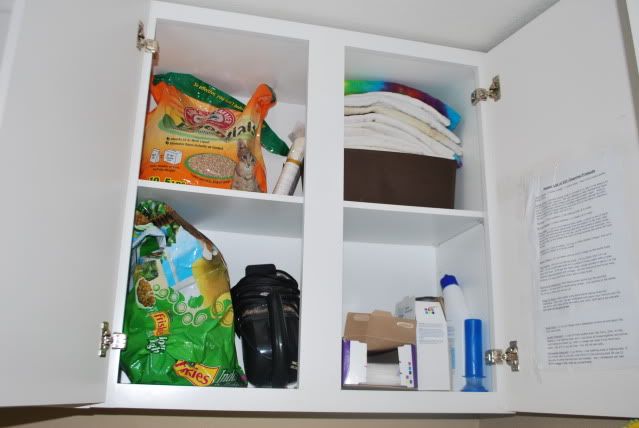
This cabinet held:
Top- swiffer wet pads, rags, rarely used kitchen cleaners like grout sealer and marble polish
Bottom- cat food, rags, plastic bags, hand vac attachments, and more often used cleaners like toilet bowl scrub and magic erasers
On the door on the right is a list of how to make all of the homemade cleaners that I use & love.
After emptying, purging, cleaning, and grouping, it looks so much better!
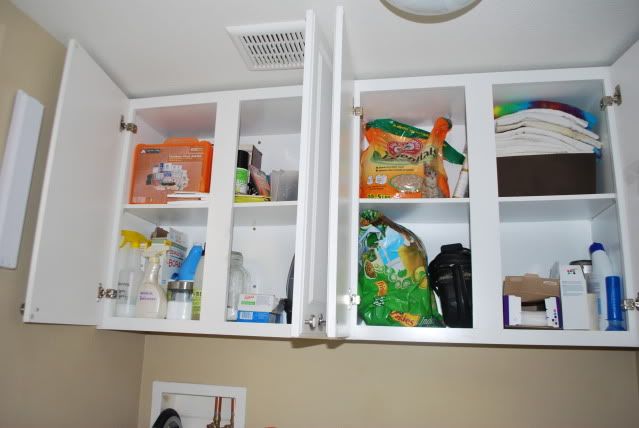
SO MUCH BETTER! I then used my Cricut and black vinyl to label a few things and called it done!
 |
| above washing machine |
Now the top left has all home stuff- tool kit, first aid, paintbrushes, spare trim & wall paint, shelf brackets, etc. Rarely used cleaners are grouped together on the top shelf as well.
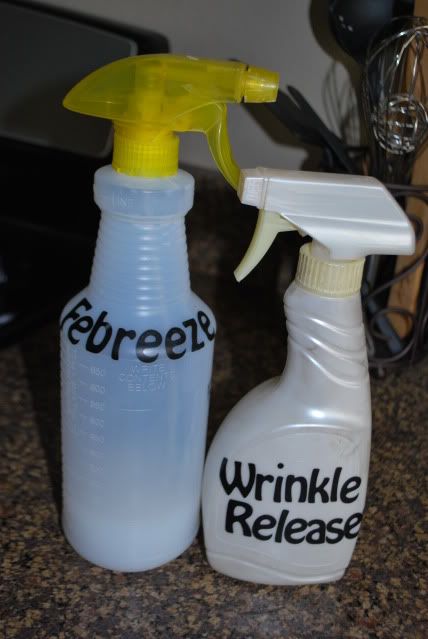
Bottom left has all laundry and cloth-related cleaners- Homemade febreeze & wrinkle releaserr, homemade laundry soap, etc. The other half of the bottom shelf holds dryer sheets, the oven, and my homemade All Purpose Cleaner, which is there to be easily accessible since I use it daily.
I kept the cat items to the left of this cabinet. I reach for her litter less than her food, so litter went up top. Normally when I feed her I end up hand vacuuming up some mess, so the hand vac goes with her food (and attachments next to it that you can't see). Next to the hand vac are often-used cleaners like Swiffer wet pads, magic erasers, and toilet cleaners. Above those cleaners are rags. On the door is still my list of how to make the homemade cleaners that I use & love.
Here are some of the items I labeled with my Cricut in doing this organizational project!
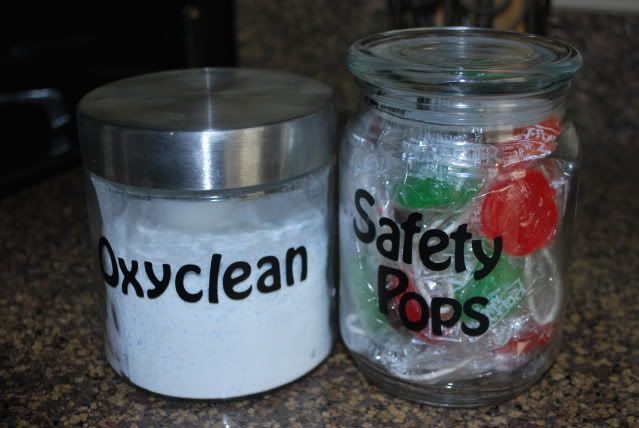
Of course the safety pops aren't in this cabinet- just re-using the photo from my jar candle repurpose :)
Happy organizing- happy wallet too!
No comments:
Post a Comment