
I went to Michael's for supplies. I had the paper from the project I did yesterday but was out of glue. I did glance at the modge podge, but $8.99 for 16 ounces??!! I always have a 40% off coupon at Michael's, but still. I got an 8 ounce bottle of glue for $1.99, took 40% off of that, and went home. Into an empty plastic container I dumped out all the glue, refilled the bottle with water, and dumped all that into the container. Mixed it up- instant modge podge for a fraction of the price.
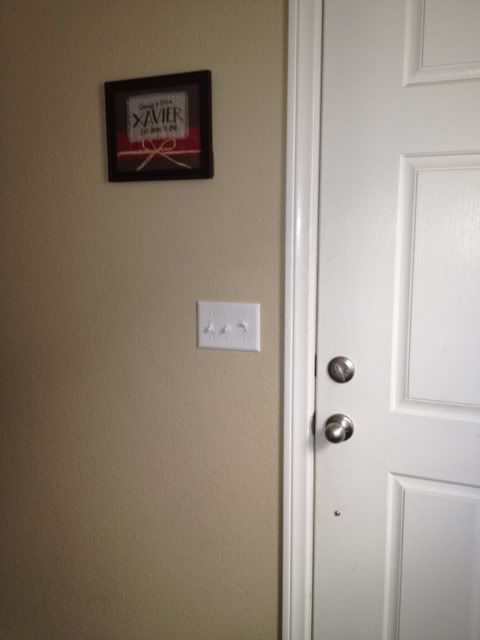
So these are the two areas I decided to do first. It's my front hall, and there's just one outlet and one switch visible.
The switch-
And the outlet-
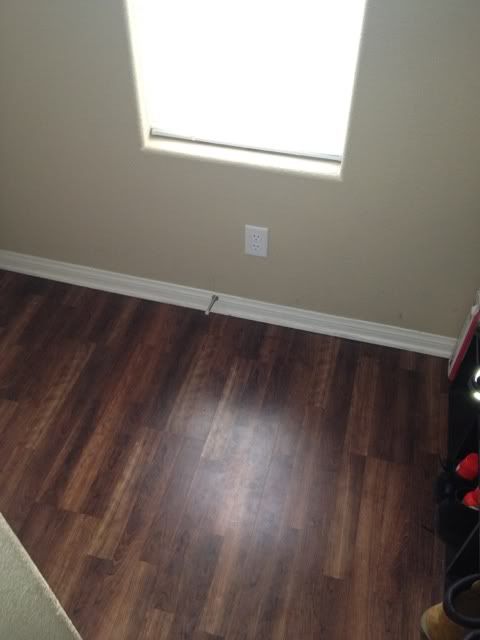
Bo-ring.
I did not take step by step photos. I've said before, my blog is real, I don't use a DLSR and spend hours editing photos of step by step instructions. If you want greater detail, go click my link for the original source. I take pics as I can with my cell phone and show you what really happens when someone gets inspired from the internet!
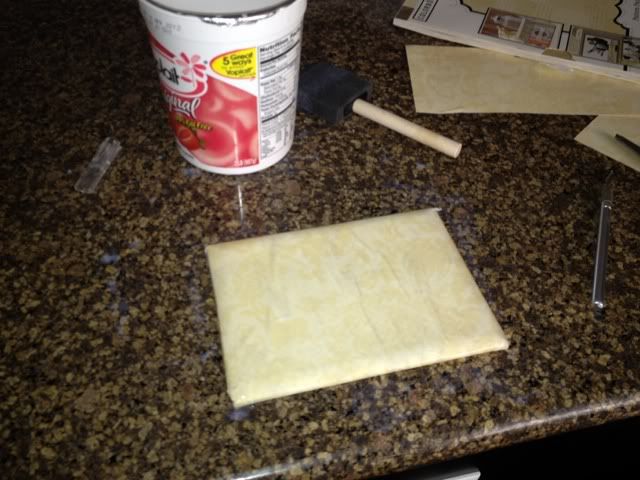
So, here's my container of modge podge, brush, and light switch cover. I made a mistake here. I covered the plate with modge podge and then lay the paper over it. It came out kind of wrinkled. My second attempt with the outlet cover, I did the glue and they pressed it down onto the back of the paper- MUCH better.
You leave some room for overhang, and then slit the corners so you can fold that overhang back. You might have to hold it in place for a moment so that it sticks. I cover the whole thing with more podge to help keep it sturdy (hopefully) and when it's dried (which doesn't take too long) I flip it over and slice around the openings from the back.
Here's my not quite perfect light switch cover:

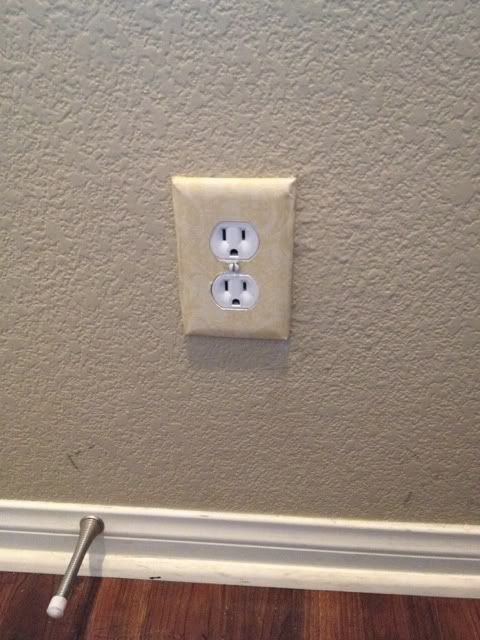
And the outlet cover, which went much better. Again, don't lay the paper on top! Lay it facedown on a table and press the glued cover to it that way. No wrinkles!
Are these perfect? Of course not, they are my first attempts. I like them and while I may re-do them later as I get better, I also might just leave them. We'll see, I guess. I have 3 floors of outlets and switch covers to do, so it will be a long time in the making!
Is buying pretty covers easier? Of course. It's also more expensive. I counted all the outlets and switches in my house one day and for the covers I wanted, it would be around $800. Sure, I could do it room by room, and have them done just in time to get PCS orders elsewhere. Or, for $5/100sheets of paper and $1.99 for glue, I can do this.
No comments:
Post a Comment