I really love my Cricut Expression (though not necessarily for what you'd think- I use SCAL and a koala pad to freehand draw most designs and then send them to the Cricut from my computer- not a fan of their cartridges!) and it's a pretty simple looking machine. I had found some amazing Heidi Grace fabric at Joann's (I LOVE Heidi Grace products!) and decided to use some of it to make a dust cover for my Cricut so I could look at it whenever I was at my desk.
I found a free pattern online. The link is
here. It's a PDF and it's 5 pages. That site has 6 instructional videos to go with this pattern and I will be honest. They're awful. After 2 videos of assembling your paper pattern they just say "Now sew it together!" There's one video of using a type of heat n bond vs. a sewing machine to put it together which gave me some idea, or so I thought. However, when I got my paper pattern together, despite it saying "Cut 1" and "Cut 2" of the two pieces, that would only cover 1/2 of my Cricut and one of the two ends. This isn't addressed ANYWHERE in the videos that I watched. Once I realized that I decided to post step by step photos and instructions to go with the pattern.
I am not an expert sewer. I only got my sewing machine set up last week and before that it was in a closet for two years. I don't own an iron to press seams. Yada yada. If you know a better technique or a proper term, please leave me a comment!
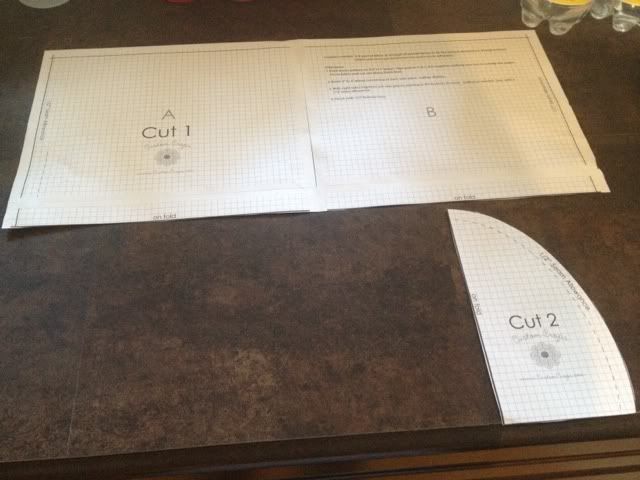
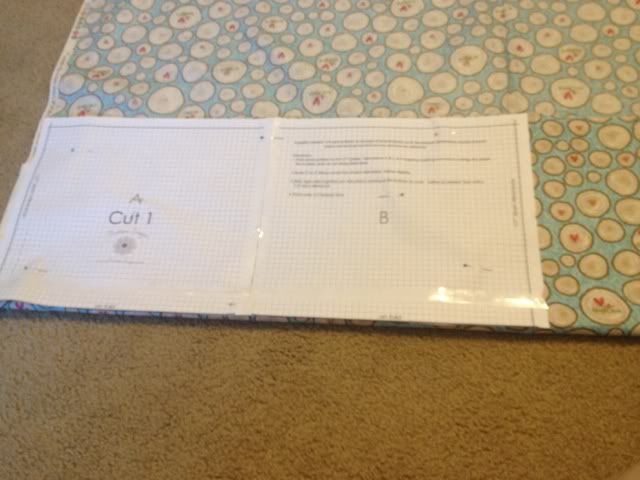
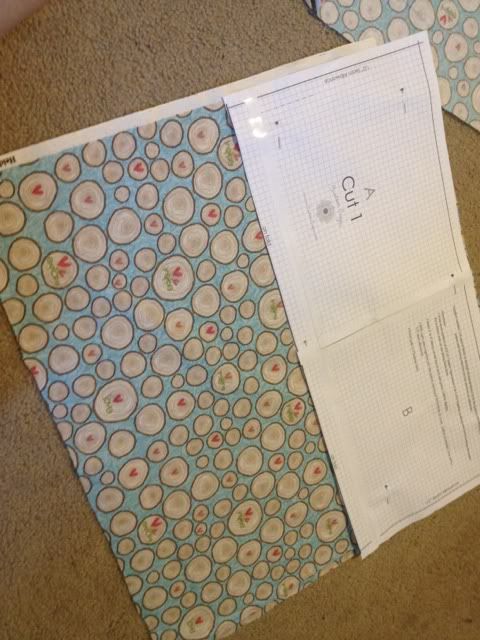
So first: Print your pattern and tape A, B, C, and D together (A B on top, C D under). You want the edges of the paper to match up, even though the lines don't go all the way to the edge. Cut along the black line across the bottom of C and D to get this shape, and cut out the curve as well.
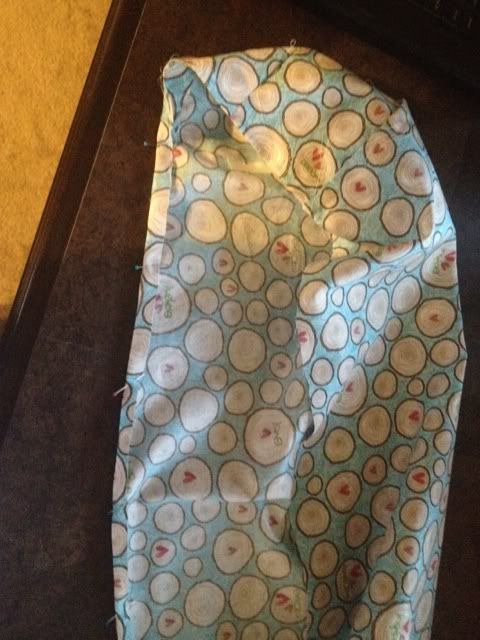
This is where I realized that this pattern is only going to cut 1/2 of my Cricut's body and 1 of it's sides. So, to fix this, I folded my fabric under and pinned ABCD through 2 layers to make a double sized pattern.
Cut along the edges of the paper and when you unfold your fabric again you should have this.
 |
| pattern still pinned to top half of fabric |
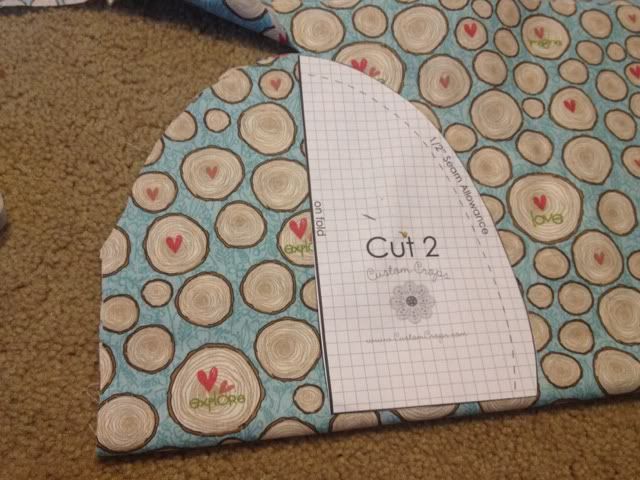
Ok, now let's cut the sides. Take your curved piece and again, fold your fabric in half. Pin the curved paper to it and cut along the curve only.
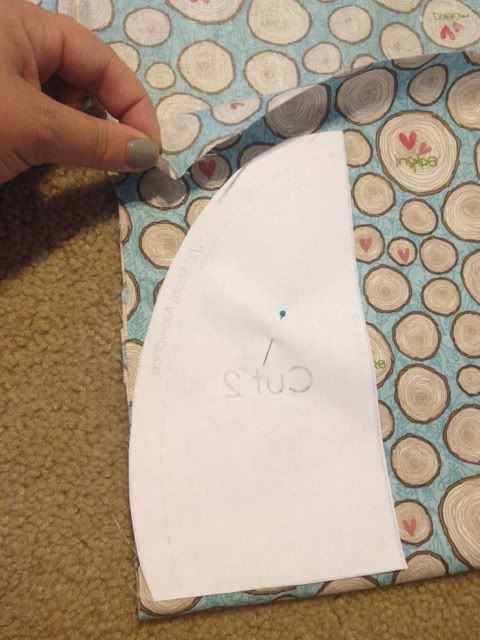
Then flip it, pin it again, and cut along the curve to meet at the top.
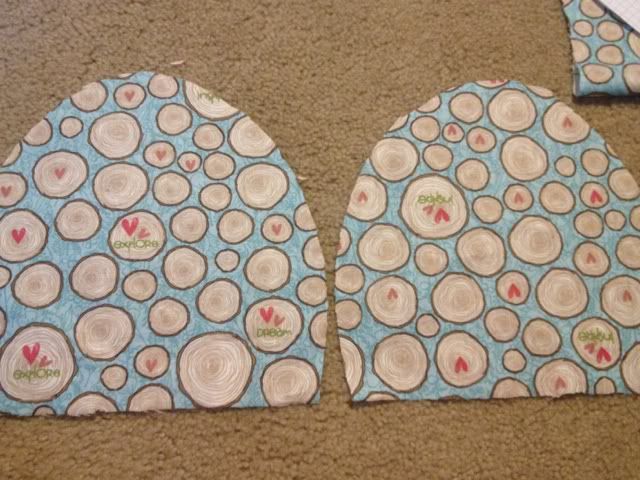
Cut along the bottom, where the fabric is folded over, so you have two pieces that follow the shape of the sides of your Cricut.
I'm trying to give you a step by step as I did it, but here I'm going to add, I ended up cutting these in half down the middle after a few bad sewing attempts.
You now want to look at the side ends of your body of fabric. You want to pin the ends (with the right sides of both fabrics facing each other) with the point at the center and the curved edge of this piece will go along the straight edge of the body piece.
This sounds very complicated as I type it out. Here is a graphic that shows it better. Blue = body, black = one end piece, grey = other end piece, red lines/arrows showing you what I am trying to describe. THIS PHOTO IS NOT TO SCALE!
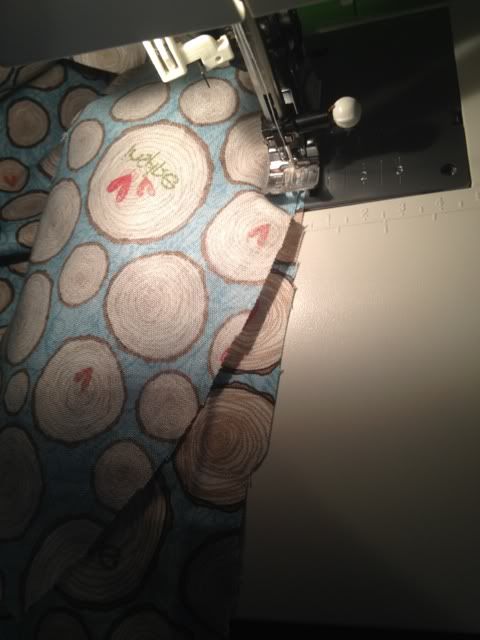
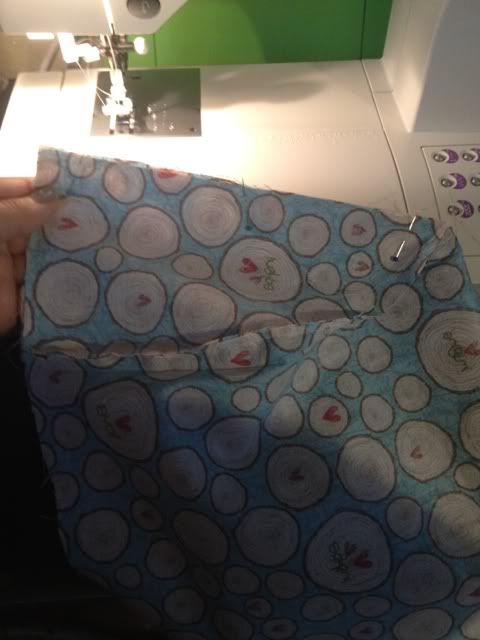
I started sewing from the middle of the body down, one piece at a time. So from the top of the curved piece. I used two pins close together at that top/middle point and basically sewed until the edges didn't match up anymore.
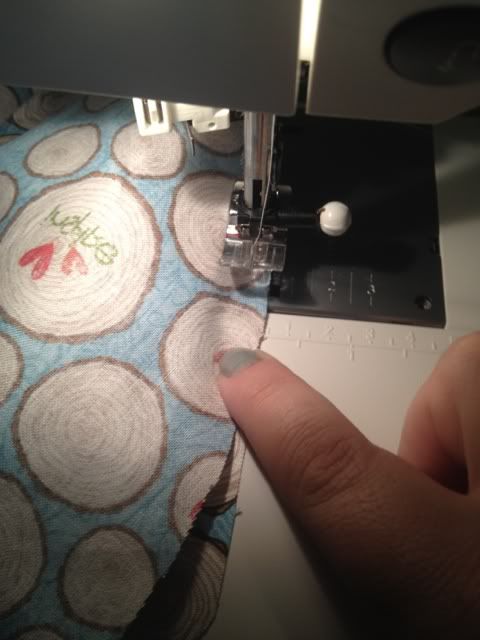
At that point, I put my needle down, presser foot up, and moved the fabric with my fingers, where I then held and guided it. Every two inches or sew I'd have to stop and repeat this adjustment.
From the pic above to the pic below, I did not sew a single stitch, I simply adjusted the fabric.
Repeat this with the second curved piece on this end (basically mirrored- see my little drawing again above).
Next, you sew the two curved pieces from this end together down their straight edge.
 |
| Bottom of dust cover ...................................................................................................Top of dust cover |
Repeat this for the other end with your other curved pieces.
All that's left is to hem, unless you're smarter than me and did it prior to putting the pieces together! Since I was kind of creating this pattern on the fly after realizing the free download wasn't quite accurate, I figured that if I waited until the end I would have an easier time making the hem even.
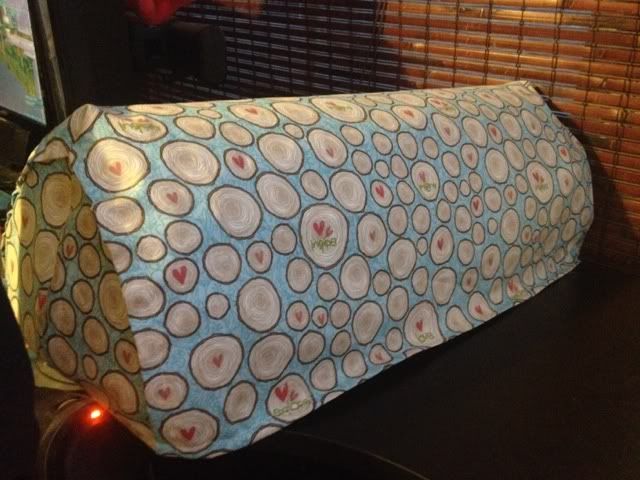
I didn't have a lot of math involved in this pattern, either. I tried it on my Cricut un-hemmed and then pinned it to where I thought it was right and then tried it on my Cricut again before sewing.
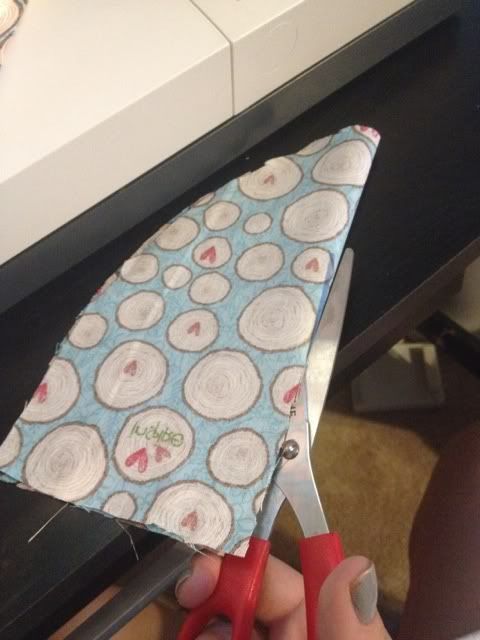
Trim off your lose threads and you're done!
I may come back and embellish this some how, but for now, I'm good.
Last note- if your fabric is directional (IE, has words or pattern with a clear right side up and up side down), just pay attention to your ends. Because I folded my fabric under to get a double cut of the printed pattern, the end you don't see is upside down. It's no biggie but if it bothers you, make sure your pattern is right side up when you cut both end pieces (you won't be able to fold it over to cut two at once, basically).


.jpg)