
This time around, family & friends knew right away (in fact, I walked straight out of the bathroom, where I called my just-deployed husband, and over to my dad, and started spreading the news!) but we didn't post on Facebook until the ultrasound showed heartbeat. Why? I don't know. Last time my sister actually spilled the Facebook-beans so maybe I would have waited last time too. Facebook is weird like that.
One thing we tried really, really hard to keep secret is the new baby's name. With our first, we knew from before we got pregnant what he would be if he was a boy or girl. With this one, we still had the girl name, but no boy name. Agreeing on one took months, but we did! Then hubby decided we should keep it secret.
Secrets can be fun, although my mother in law now knows, since he can never resist her asking :) I thought of a really cool idea though. What if the "baby announcement" hospital photo of screaming 10 minute old baby was also a name announcement for everyone else? At least for the Facebook crew, who don't get up to the minute, super close family secret updates.
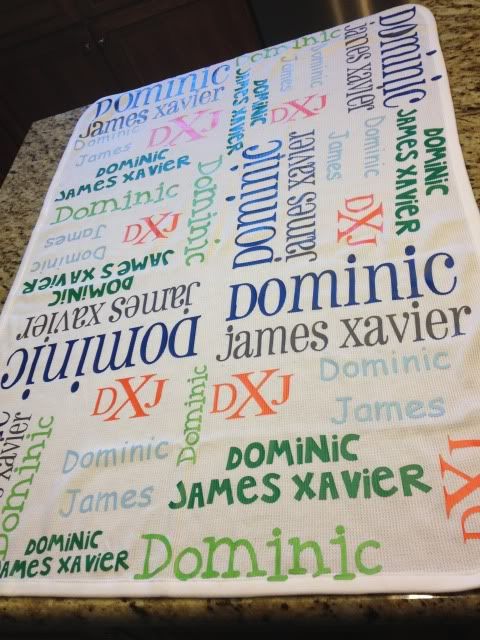
I set out to re-created a prop for a photo I saw. And I am IN. LOVE.
I used my Silhouette Cameo to design the whole thing. Simply resize the mat to whatever your blanket size is (this is 30 x 40 ") and design away. I then copied the whole thing into a new file, split it up by color, and lined each color up on the mat one by one. I cut them out of Siser Easyweed HTV (my favorite brand!), weeded & cut the words apart, and then re-created the whole thing on the blanket. I pressed with my iron and parchment paper (no fancy heat press or teflon sheet here- I think I'm proof that you don't need tons of $$$ equipment to make something awesome!) and total pressing time was about 20 minutes. I spent extra time going back and forth since the blanket is a waffle weave and I wanted to make sure the HTV really got in there.
So, blog-land friends, please be honored that you now know the name of our soon-to-be-born son! I can't wait to swaddle him in this blanket and post a photo.
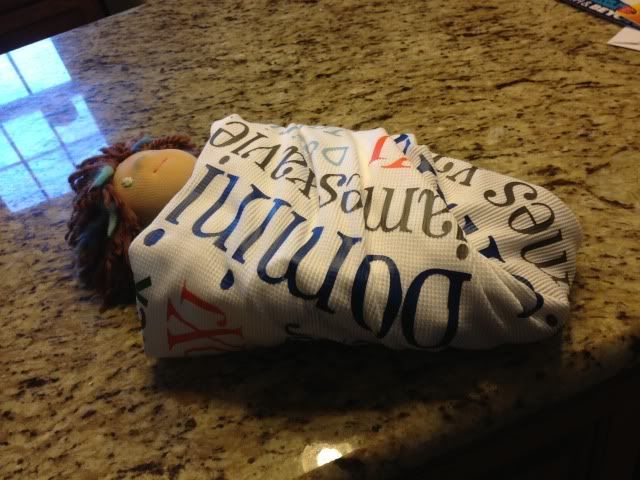
I did try to take a photo of how this would look as a swaddle, but a 14" doll (even my preemie first-born was 17.5"....) whos arms naturally stick out to the sides did not make the best model. I don't have anything else to use though! Oh well :) It'll be on my son one month from today!
I got some questions about the design process so let me show you some screenshots.
Here we have the design mat resized to the blanket size, which is 30" wide and 40" long. Ignore the red box- that is showing you where the 12x24 cutting mat is. These are all free fonts from around the web.
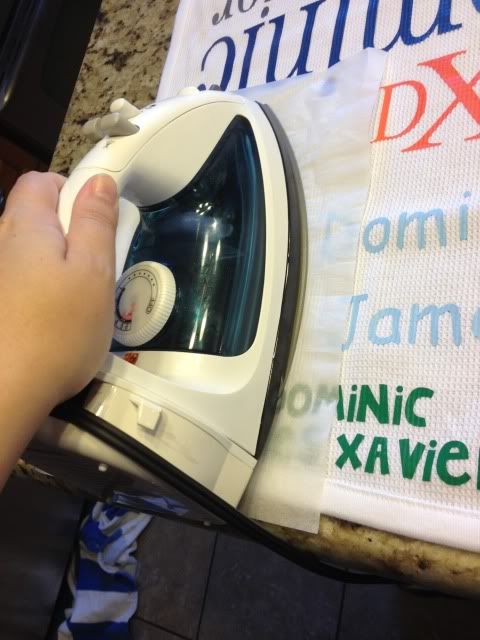
When I make something with HTV I get asked a LOT about the pressing process. I don't own a heat press or a teflon sheet. My iron is from walmart. It goes from 1-6, temperature-wise, so I set it on 6.
I press in two stages. First, I use parchment paper over the HTV with it's little carrier sheet (the shiny sheet) attached.
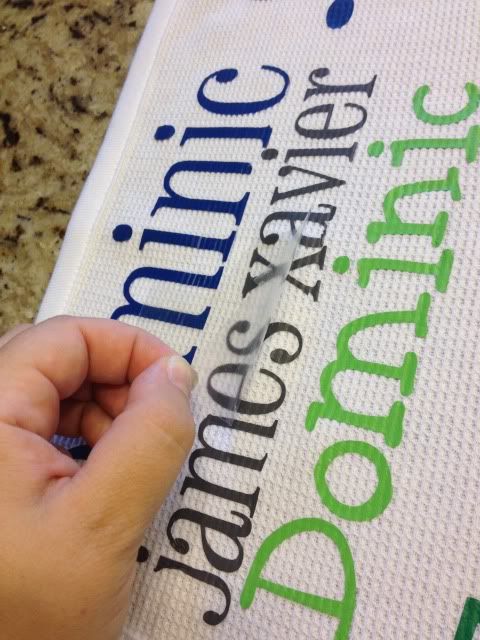
Next, I remove the carrier sheet, put the parchment paper back down (VERY IMPORTANT! DO NOT IRON OVER HTV DIRECTLY!) and press it again. I do about 15-45 seconds of pressing over each area each time.
Here's me removing the carrier sheet after the first press. The HTV is adhered, but I think the 2nd parchment-paper-only step really helps it adhere well (especially on textured fabrics like this.
I hope that helps some of you who like me don't want to drop $200+ on a heat press, or even $10 on a telfon sheet- I've never felt the need! :)
this is super cute i love your ideas and creativity girl
ReplyDeleteJust curious how this blanket has held up... I'm about to attempt HTV on a waffle knit shirt and I'm hoping for the best! I really do love the design of your blanket too!
ReplyDelete