
Silhouette sells their own version of Heat n Bond and it's expensive. I read that a lot of people use Heat n Bond Lite and then are able to iron whatever they cut onto something else. I did not need to iron this on to something else and I also didn't have Heat n Bond, but I did have fusible interfacing that I use when I embroider.
So, my materials here are:
-100% cotton fabric (woven, not a knit)
-Fusible interfacing (generic brand, I don't even have the bag anymore, but it's used with embroidery machines and I'm sure other things that I don't know of)
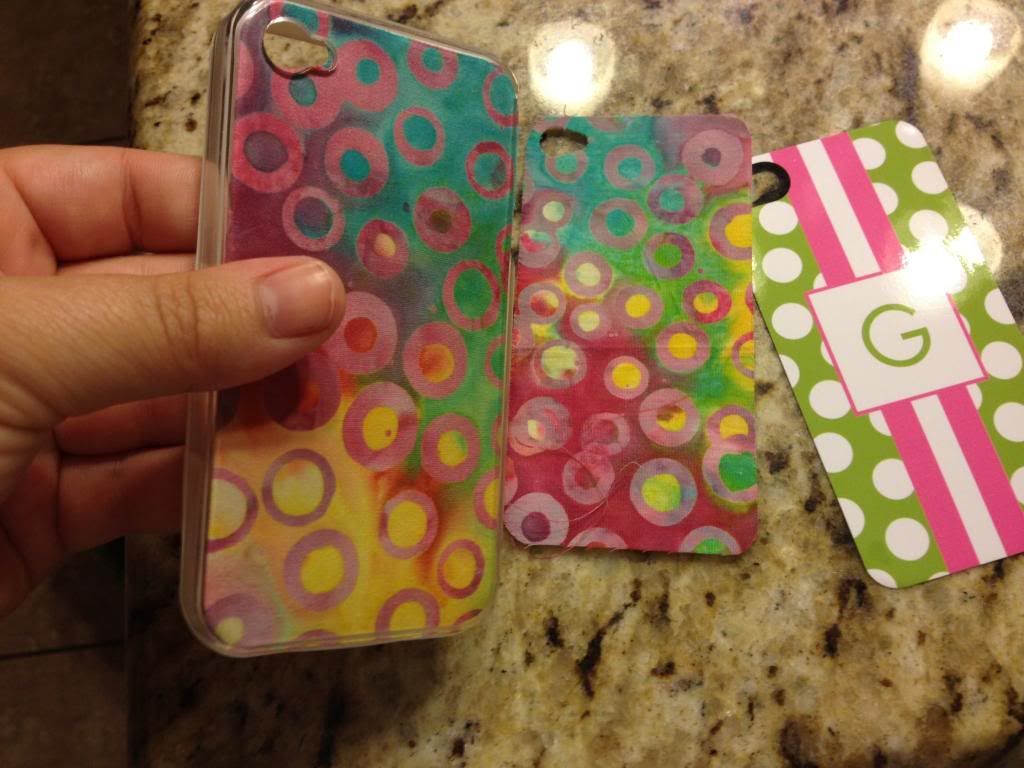
I decided to cut out an iPhone case insert, since I love this fabric and I also love the textured look of the fabric inside an iPhone case. I cut a lot of custom cases but they have always been cardstock. My case is actually from Paparte and I love it- it's a rubber enclosure with a clear acrylic overlay, so I can layer something in between and make it pretty.
Anyway.
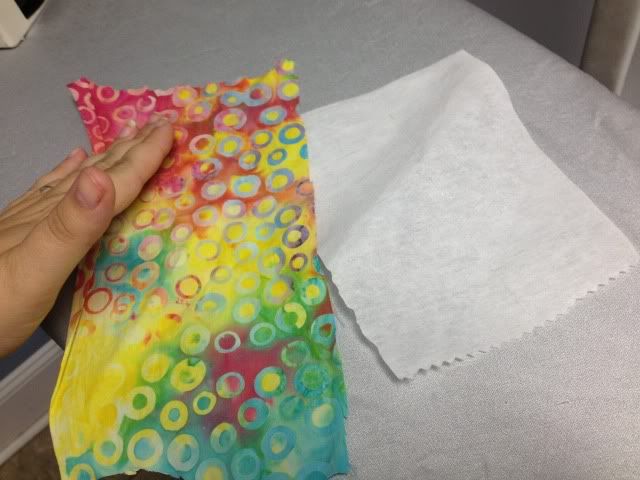
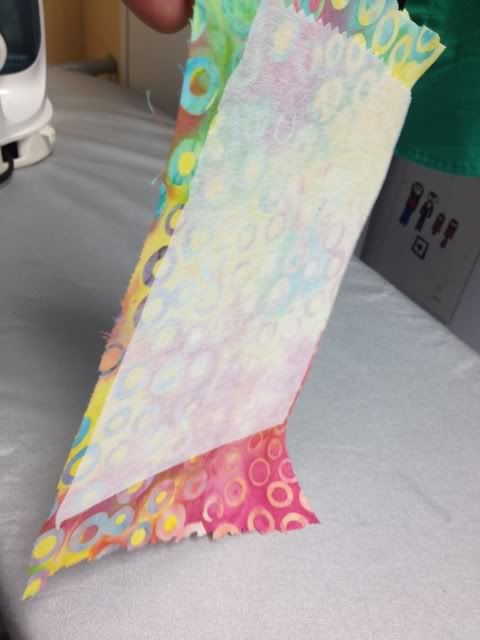
I started by ironing out my fabric so it was flat, and then ironing the fusible interfacing to the wrong side of the fabric. Fabric side up, and make sure you don't have excessive interfacing sticking out or it will gum up your iron.
Once ironed, it's nice and stiff.
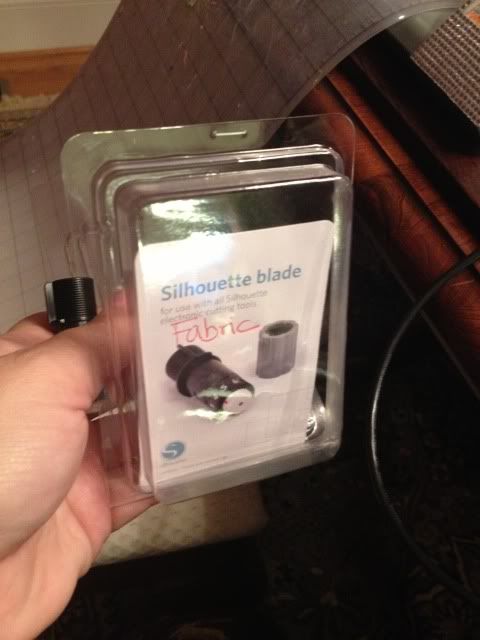
I then got out my fabric blade. Silhouette sells one, but it's just a regular blade in a blue housing. Go for it if it makes you happy. I personally have 4 blades and have them labeled for separate use (Cardstock, Vinyl, Fabric, and a spare).
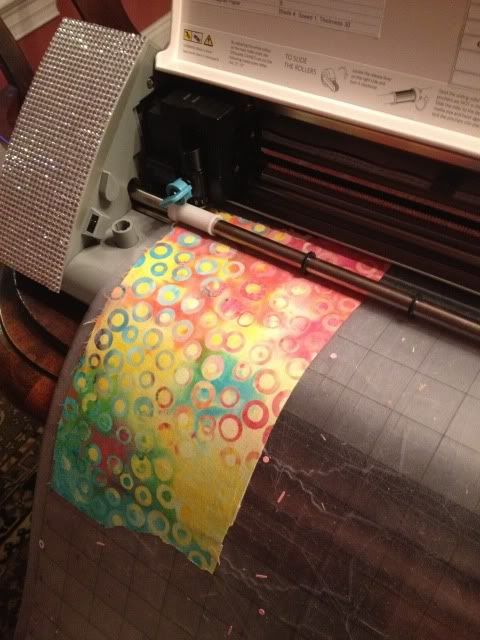
Stuck the fabric on my mat, set blade to 4, speed 3, thickness 30 as I read somewhere (don't rush to copy these settings- finish reading, you'll see why). I also set it to double cut, figuring better safe than sorry.
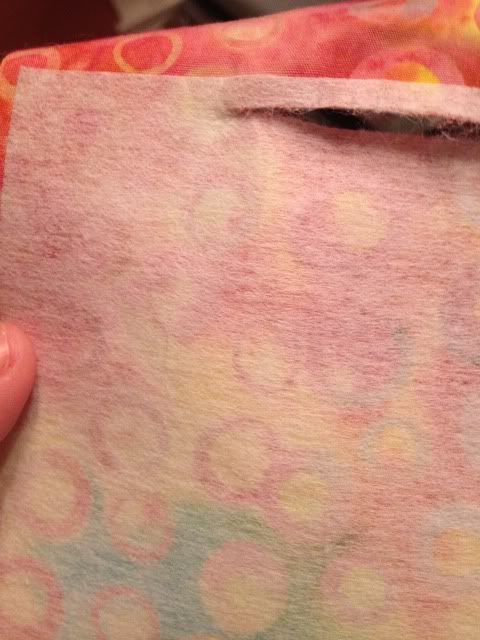
So, this didn't work. It cut though the fabric ok but not the interfacing. I could tear the interfacing, but it wasn't neat. Had I needed to iron this to something it really would not have worked.
See, fabric is cut:
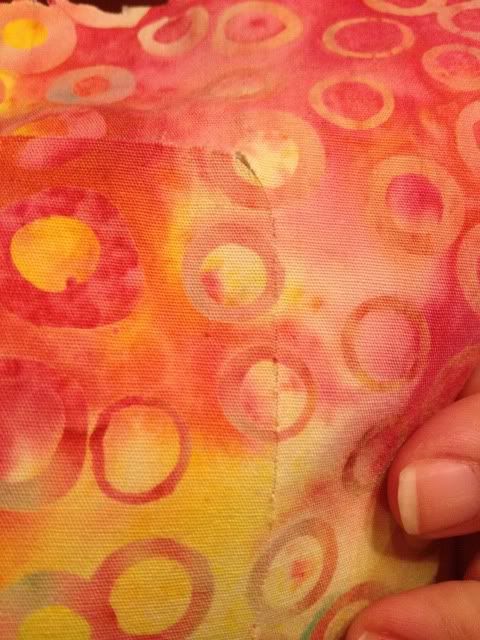
Interfacing is not. I already tore the top line but do you see any cut lines? Nope.
Round two. Ironed more interfacing on to more fabric.
These are the settings you want copy :)
I then changed the blade to 6 and kept speed at 3, thickness 30, double cut on, and cut the shape again.
I then changed the blade to 8, kept everything else the same, and cut a 2nd shape below the first one.
You'll see that both worked fine, so 8 may be overkill.
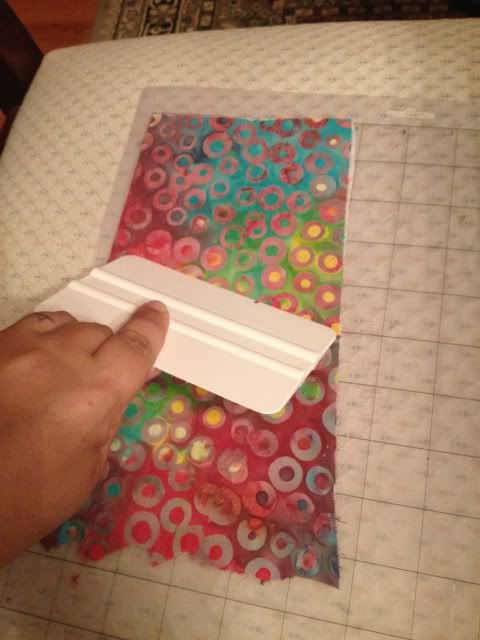
In addition to these blade settings, I cleaned my mat with a scraper and then sprayed with 3M Re-positional Spray. I use this to re-sticky my mat with a light hand so that paper doesn't tear, but I sprayed it a bit heaver than normal to help hold the fabric steady.
I also burnished the fabric to really help it adhere.
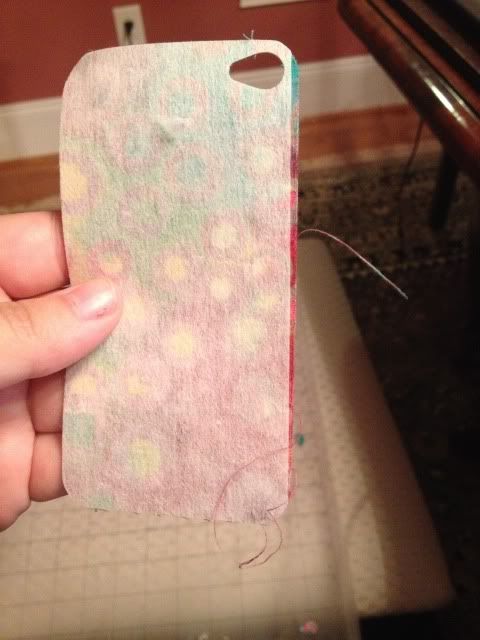
This time it worked great! When I lifted the corner of the fabric, it removed cleanly & easily around the cut lines.
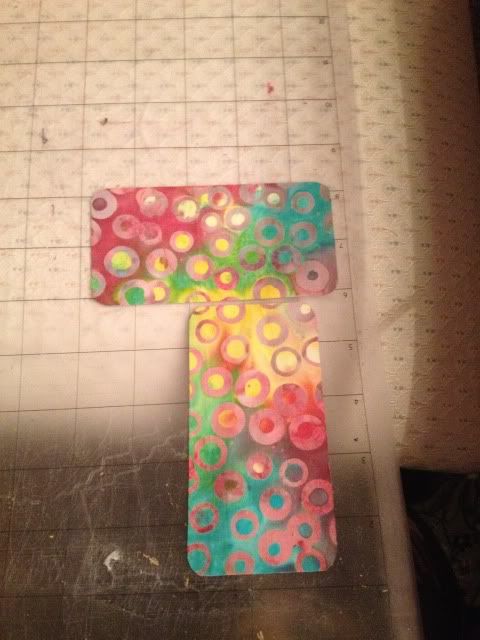 |
| top sideways- blade 8, bottom vertical- blade 6 |
Even better, when I lifted my cut shapes, the camera hole cut out also peeled away cleanly!


Meanwhile, the "blade at 8" cut had just a smidge of fabric without interfacing, and it's already frayed on that side.
Lastly for this project, I removed the current decorative insert from my cell phone case (you can see it in the photo!) and inserted this fabric cut out. I love how it looks!
Next up (after I finish my sewing project, anyway!) will be to get some Heat n Bond Lite and work on making custom shirts for my son & soon-to-be-born baby using iron-on fabric cutouts with the Cameo :)


Great idea, thanks for posting the tute. What kind of interfacing did you use?
ReplyDeleteGreat tutorial - thank you :)
ReplyDeleteDo these cuts ever fray after they are put on your project?
ReplyDeleteI have tried several methods for cutting fabric. The settings I use are the same except that I don't double cut. I have had success with fusible Web like wonder under or pelion 905. This allows me to fuse it on other fabric. The key to cutting fabric is to have something to stiffen like the paper on the back on the fusible Web or freezer paper ironed on top of the fabric.
ReplyDeleteThis comment has been removed by the author.
ReplyDeleteI am considering getting a Silhoette to do some lettering that i want to Iron on. SO by this post, can I understand that I can purchase material, use the wonder under to create an iron on applique, and cut away? Just trying to ensure I can before making the purchase =)
ReplyDeleteI'm just commenting to let you know your photobucket account isn't letting us see your photos =)
ReplyDeleteThanks for the tutorial. I ironed Heat n Bond ultra hold onto my fabric and peeled off the paper backing then put it onto mat (fabric side up) and used default settings in Silhouette for thin fabric and it cut out 40 tiny little black eyes that I then used for my quilt appliques. It was wonderful!
ReplyDeleteThanks for the great tutorial. I appreciate seeing the errors as well as the correct settings.
ReplyDeleteThank you I will try this I want to cut quilt blocks to sew together so wonder under will not work for me I found out the hard way LOL!
ReplyDeleteTHANK YOU,,, VERY HELPFUL
ReplyDelete