Well, today is Day 59 (ish) of this project. I started late on September 13th and today is November 12th, and 30 Days Has September and all that, anyway, I didn't want to count off days one by one on a calender soooooo here we are.
A few weeks ago I ordered bottles & shrink bands. I thought 4oz was a nice size, not dinky like the teeeeny $11 supermarket bottle, but not a giant bottle of basically Vodka, either. I bought amber bottles as sunlight + extracts = no no according to my research. I also bought a set of shrink bands, which I had to order in packs of 250, so if any of you out there in blogland want some I'll throw a 45c stamp on an envelope and send them your way. Just let me know!
 |
| http://www.specialtybottle.com/amberbostonroundglassbottle4ozwstdcap.aspx |
The shrink wraps are made to fit certain bottles, not one size fits all, but you can find the info here on the ones that I bought. You stick them around your lid and zap them with your hair dryer to seal your bottle up. Nifty. And cheap. Like I said, I have 250!

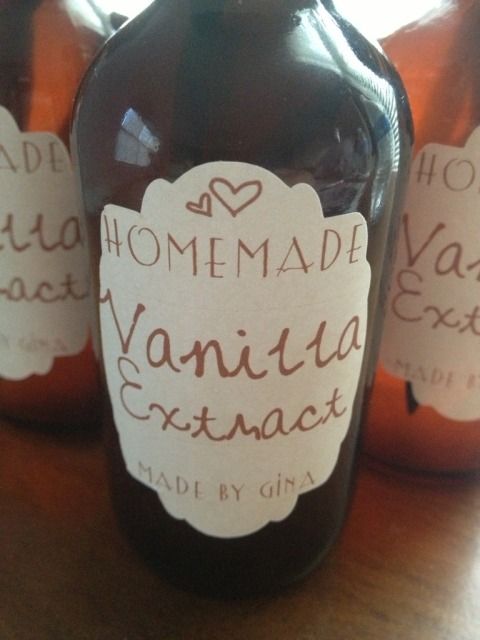
At this point, all I needed was labels. Originally, I was looking for printable sticker paper, and I wanted an uncut sheet of it, not broken up into shipping labels or whatever. This wasn't easy to find and when I did it was $34.99 for 10 sheets at Staples! No thank you!
On an unrelated note, I've been ordering vinyl like a nutcase for crafting and have been playing with printable vinyl as well. At $1.96/sheet, it's about 1/3 cheaper for 10 sheets than the sticker paper would have been, I have lots of other projects to use it for, and I don't have to buy 10 sheets if I don't want to. Plus, when the ink dries, this vinyl is 100% waterproof. Win.
Using the Silhouette Studio Print & Cut feature, I brought up a shape that I thought would be pretty and stretched it so it was more oval shapes. The background pattern is Autumn Paper Damask. The text is just brown. The heart shapes are WingDings from a MTF font called "Heart Doodle." "Vanilla Extract" is typed in MTF Mikayla. "Homemade" and "Made by Gina" are typed in Lemon Chicken.
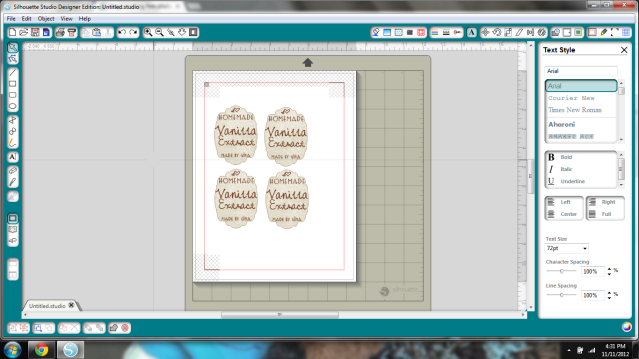
Once I liked the label, I kept duplicating it til I had all I needed. I then resized it based on a quick glace at a wooden ruler on the bottles. I swear, creativity is half inspiration, half perspiration, half keeping your fingers crossed that you aren't wasting $2 in paper because you can't be arsed to take calibrated measurements with curved tools and markings. Print, Cameo Cut, & adhere vinyl to bottle...perfection!
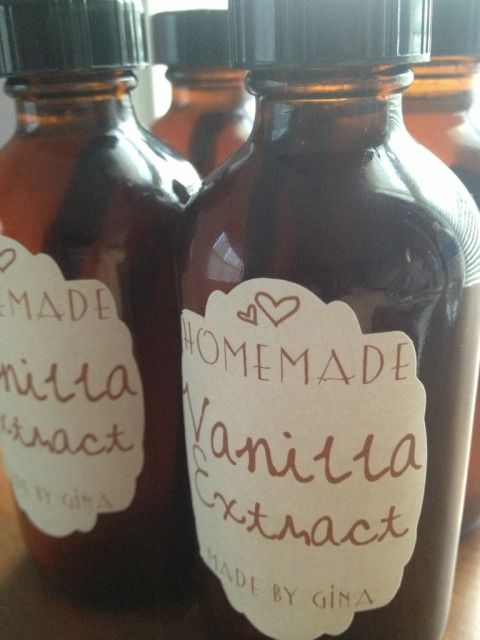
The only thing missing now is shrink bands. I'm not ready to seal it up just yet. I've been keeping an eye on the color and I'm also considering putting fresh beans in the bottles with a note about topping off with vodka before I give them away.
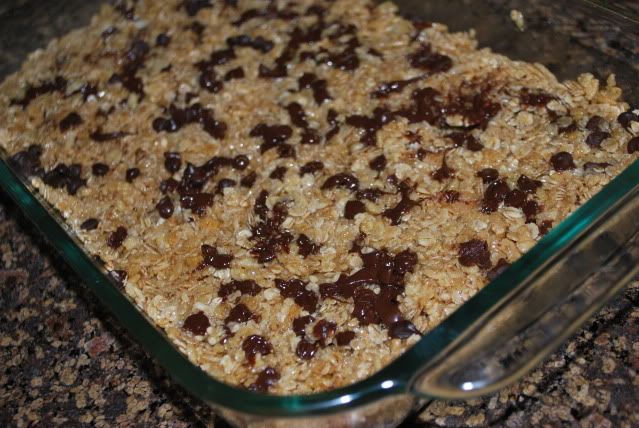
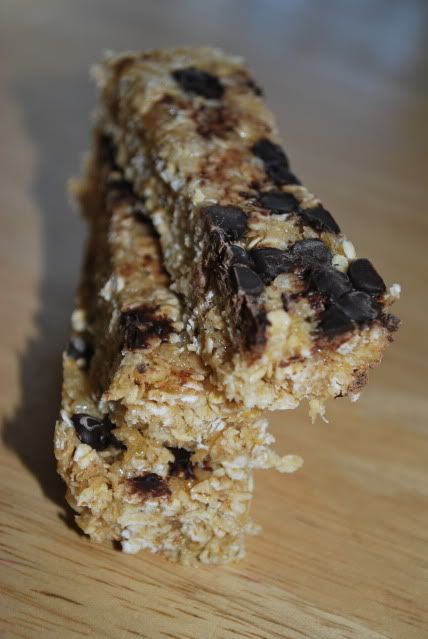
I swear I can smell fresh-baked chocolate cookies when I look at these.
Notes- I decanted from the stainless steel thermos into these bottles a few weeks ago. The thermos had 4 beans, one bean/4oz or 1/2 cup. These are 4oz bottles and each have 1 bean inside now. Industry standard is 0.8 beans/cup so you can reasonably assume that store vanilla has less than half of a bean in 4oz. Sounds kinda bland.