I then bought some "real" nursing bras and did not want to cut them but also didn't want to change my bra just to pump hands free, so I bought the Medela Easy Expressions Bustier. It took a few minutes to get it on and off and it's certainly not pretty but it was functional. I kept reading that the Simple Wishes bras were much better than the Medela bustier, but I didn't really think much of it because a bra with hole is a bra with holes, ya know? But then curiosity got the better of me the more I got frustrated with my Medela, so I ordered the Simple Wishes. This post is for anyone out there who thinks the bra doesn't really matter...it does!!! There IS a big difference.
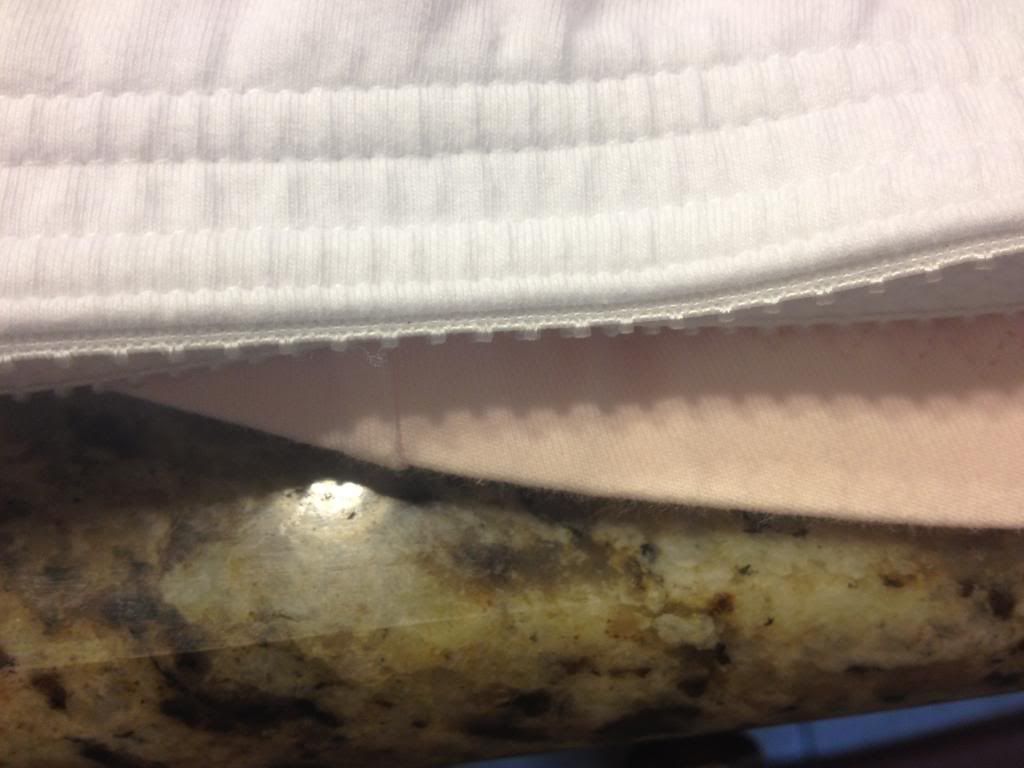
First of all, the Medela bustier zips up the front. The Simple Wishes both zips up the front AND ties in the back. There's also a velcro backed version. Simple Wishes also sells 1" and 2" extenders that you would zip into the front like an extra panel to adjust the width and therefore the spacing of the holes. Speaking of the zipper, Simple Wishes has fabric behind the zipper so it doesn't dig into your skin. The Medela has much stretchier fabric in my opinion. I think that is why the Simple Wishes looks so much larger in this first photo.
The next difference for me was comfort. The Medela has a little bit of decorative scallopy lacy something on the bottom and it's a bit more pronounced on the top. It irritates my skin. The Simple Wishes is bound smoothly.
 |
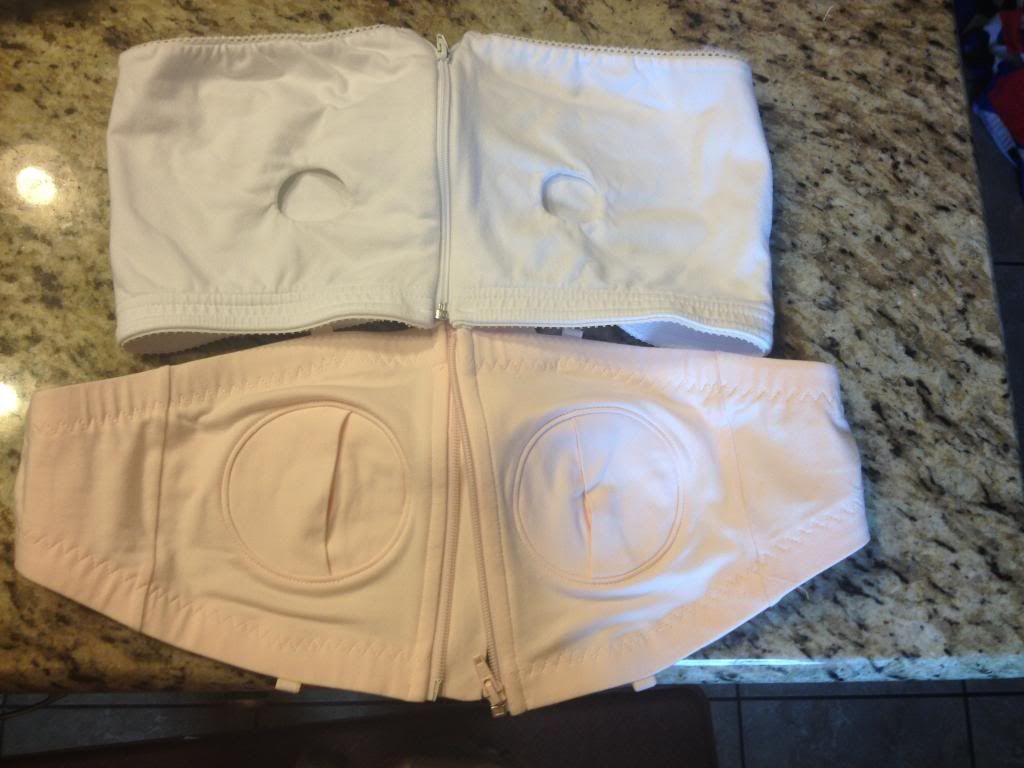
| Top of bras |
 |
| Bottom of bras |
Also in the Comfort area is the shape. The Simple Wishes is angled towards the back to naturally go under your armpits. The Medela tends to dig into my armpits.

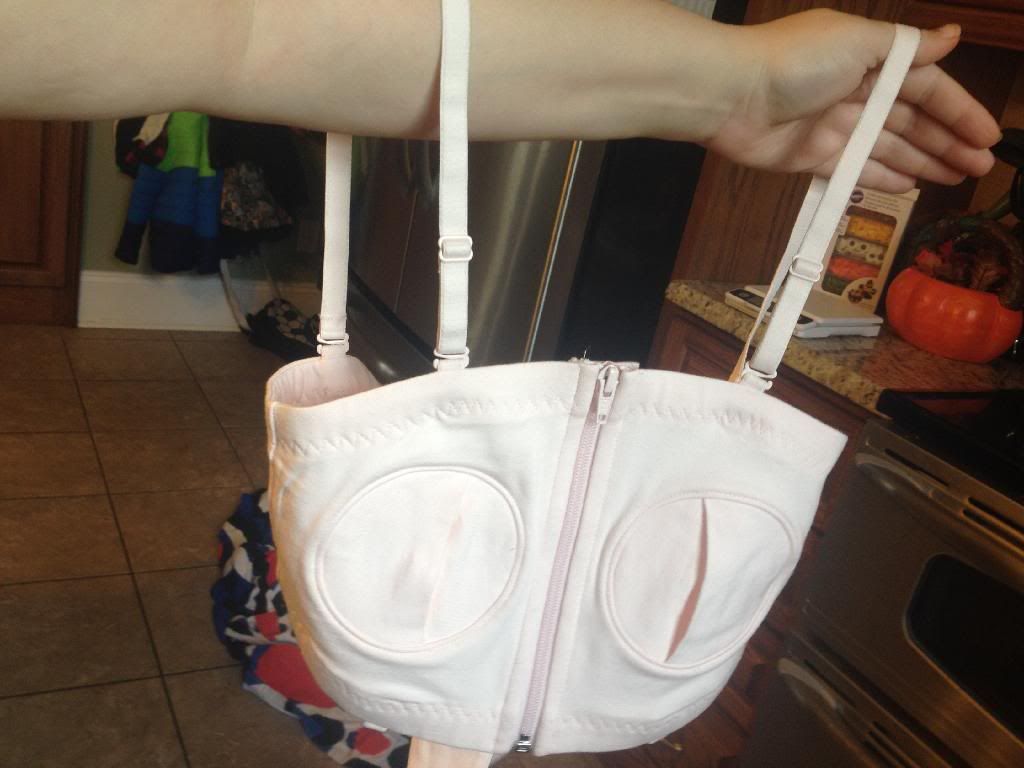
The Simple Wishes has optional bra straps. The Medela does not.
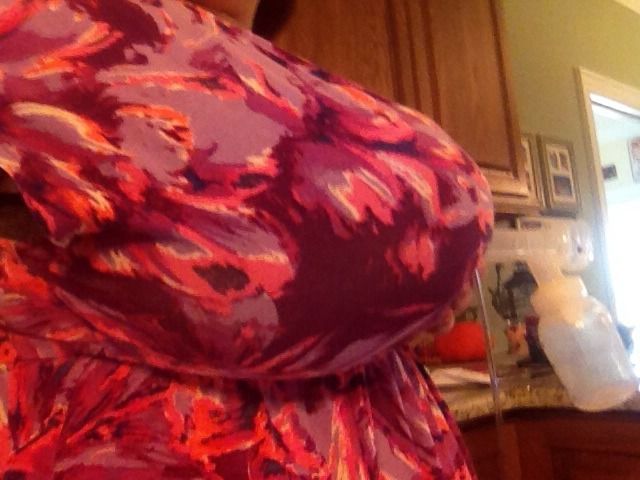
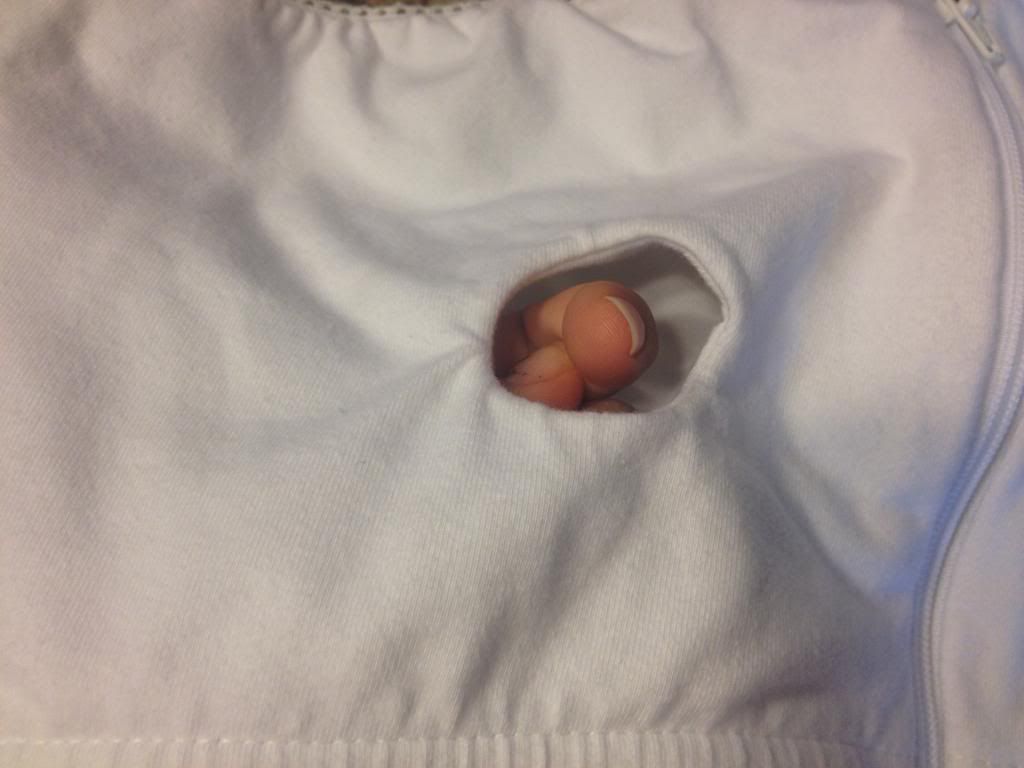
Ok so, modesty. It's hard to be modest while pumping and chances are if you're pumping around someone you already don't care if they get a peek. The Simple Wishes is at least a little less "these are UDDERS!" looking. It has two panels on the front and the back that form the opening and hide most of the flared part of the flange. The Medela just has holes.
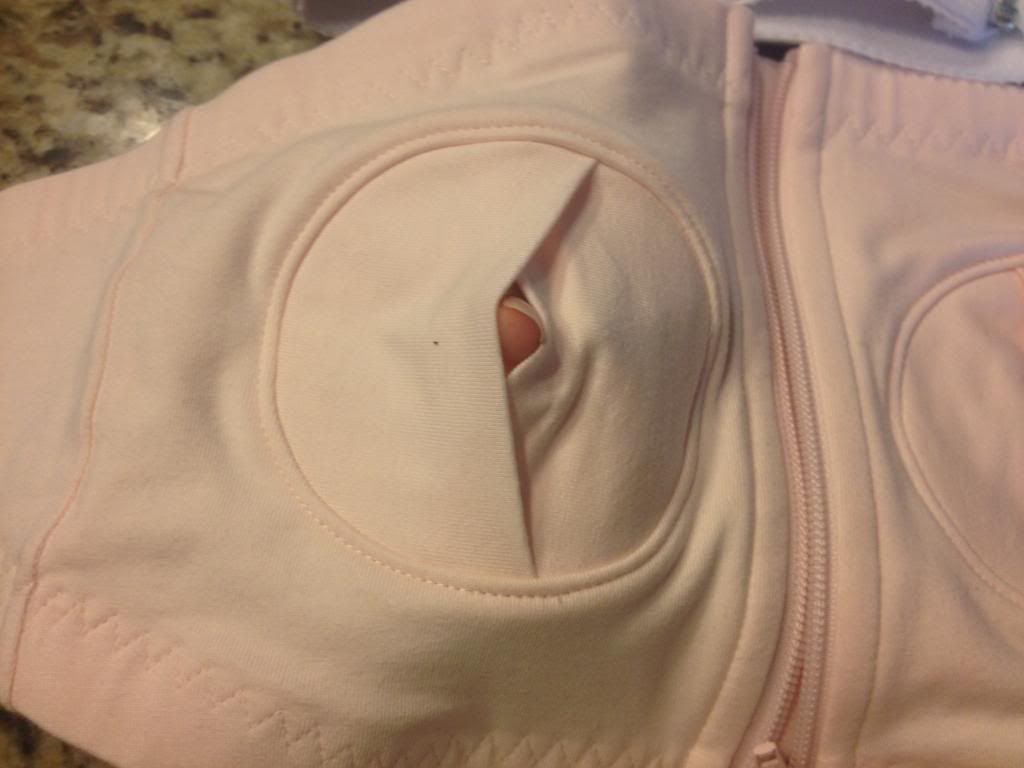
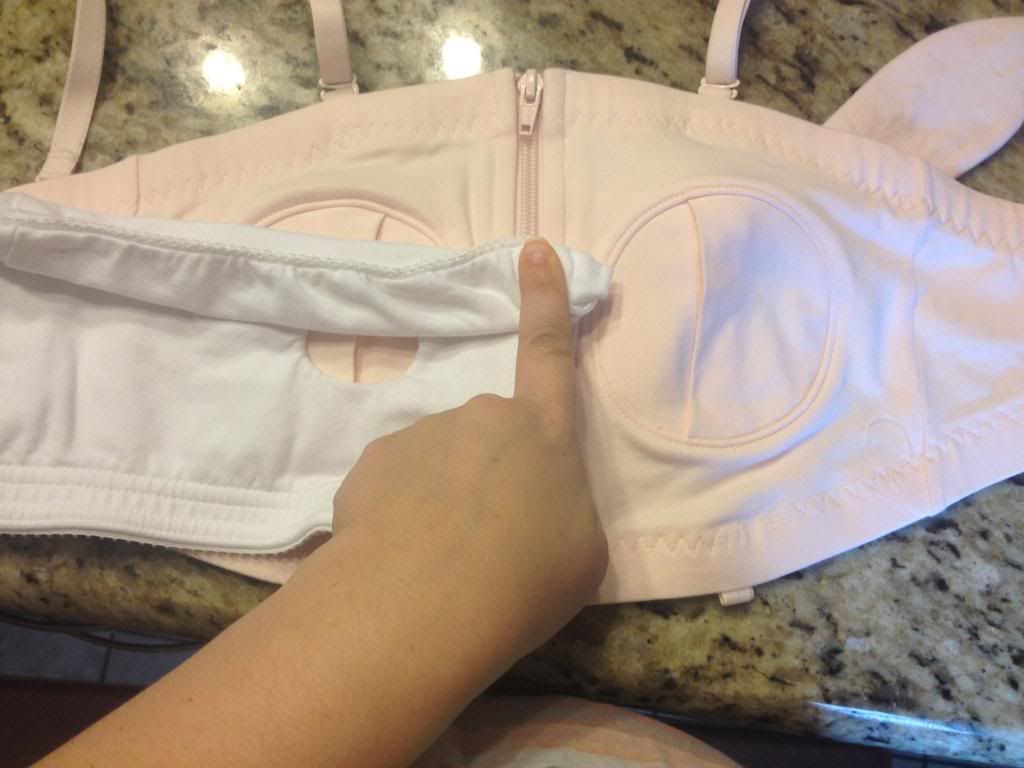
Speaking of the holes, the Medela holes are kind of angled down. I feel like they make my nipples point down and it makes my boobs look saggy. I know pumping isn't exactly attractive to start with, but why torture yourself? I tried to line up the two on top of each other so you could see what I mean. The Medela holes are clearly lined up to be where the bottom of the Simple Wishes holes are. This makes me feel like the Medela is just going to slide down off my chest. The Medela is folded down to help you see the comparison to the Simple Wishes holes.
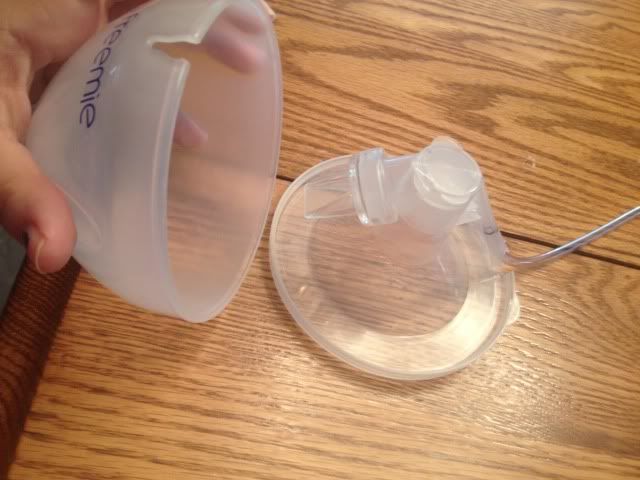
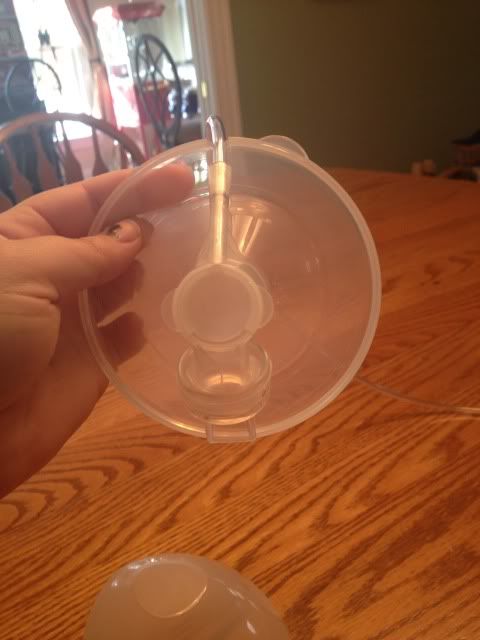
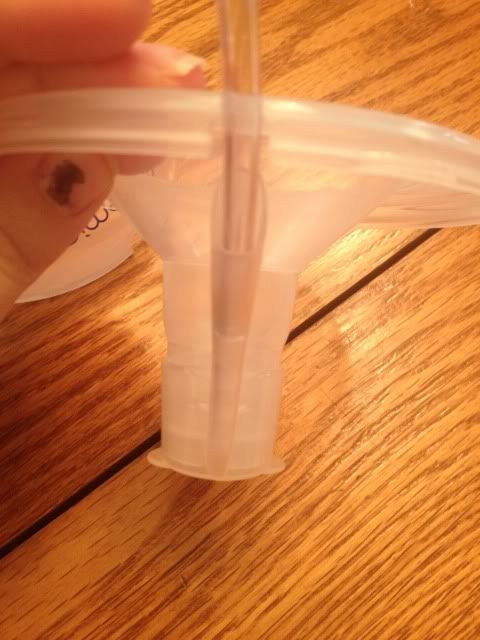
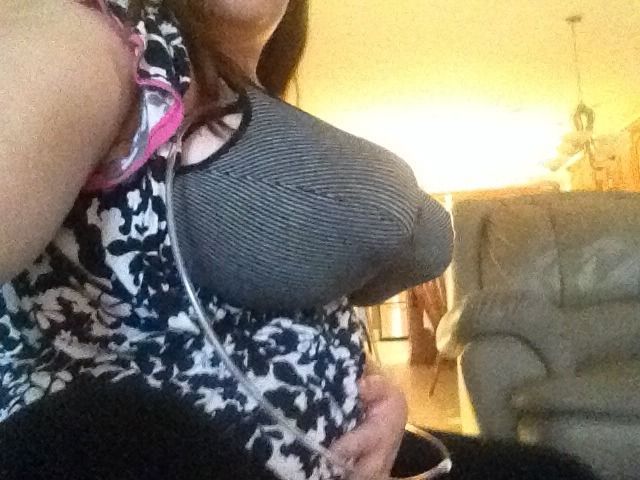
The one thing i would change is make the entire panel taller so that it covers my entire breast. The way it hits underneath my breasts feels odd. I also don't know why it has bra strap loops on the bottom, but they don't bother me. The big clip is from my nursing bra being unsnapped for pumping. Also, see the part for the flange? You can't see the flange!

I don't have a photo for this one, but speed. Because I don't have to stretch the Simple Wishes as I wrap it around me I can put it on much faster than the Medela. A bigger size Medela wouldn't hold the flanges against me, so I know it's not that mine is too small. I leave the Simple Wishes tied in the back and just zip up the front and it's so much easier.
This might seem like a crazy long and detailed review of something pretty insignificant, but if you spend any length of time pumping you'll learn how important it is to have a good-fitting bra, just like any other time. Overall the Simple Wishes is quicker to put on, more comfortable to wear, more modest, and gives you a more custom fit. I personally didn't feel that there was a difference until I tried it for myself.
Since I've reviewed a lot of stuff lately I felt the need to point out, I do not get product to review, I do not get free products, I do not get paid for reviews, and I make no money doing this. I realized when I first started using Pinterest that unbiased reviews were few and far between so I set out to fill that gap. Even if a blogger truly LOVES a product when I realize they either got it for free in exchange for the review or were paid for the review, I feel the credibility of the review is undermined.